


Willow Tank | Grainline Studios
Even if you’re new to the sewing community, you have probably heard about the Willow Tank by Grainline Studio. That’s because this pattern is very beginner frlendly, simple but stylish, and is one of those basic tops everyone should have in their wardrobe. So naturally, it was added to my queue when I started this sewing journey.
There are so many people that have made this top, which pattern also comes for a dress, but the tank looks like it’s a lot more popular than the dress. But if you search for #willowtank, you’ll see all the beautiful makes and great inspiration. The black one from @GirlWhoKnits is sooooo nice, the refashioned version from @sewingbythec, or the April Rhodes print from @kunklebaby are just a few of the ones I love!
The pattern suggests using light to medium weight fabrics such as such as cotton, linen, silk, crepe de chine, charmeuse, voile, chambray. The pattern is fitted in the shoulder area and relaxes into a boxy top after the bust. It has a thick hem which goes well with a boxy top.
It’s so interesting how a small amount of fabric or how you cut your fabric can make such a big difference on a shirt. This shirt is similar to the Gemma Tank except that it has a boxy bodice vs the Gemma which has a curvy silhouette. So if you’re looking for a more form fitting and I want to show my curves type of top, then go with the Gemma. The Willow is more of a straight structured boxy “I’m sleek and cool” type of look. It matches very well with shorts and jeans. I think it might be good with skirt too? But I haven’t tried that yet.
I have made 2 versions so far, the first one I made it with a linen gauze fabric I got from Discount Fabrics store in San Francisco. Their online store is CaliFabrics. The first one I made was Size 12 and I did not make any modifications and used store bought bias tape.
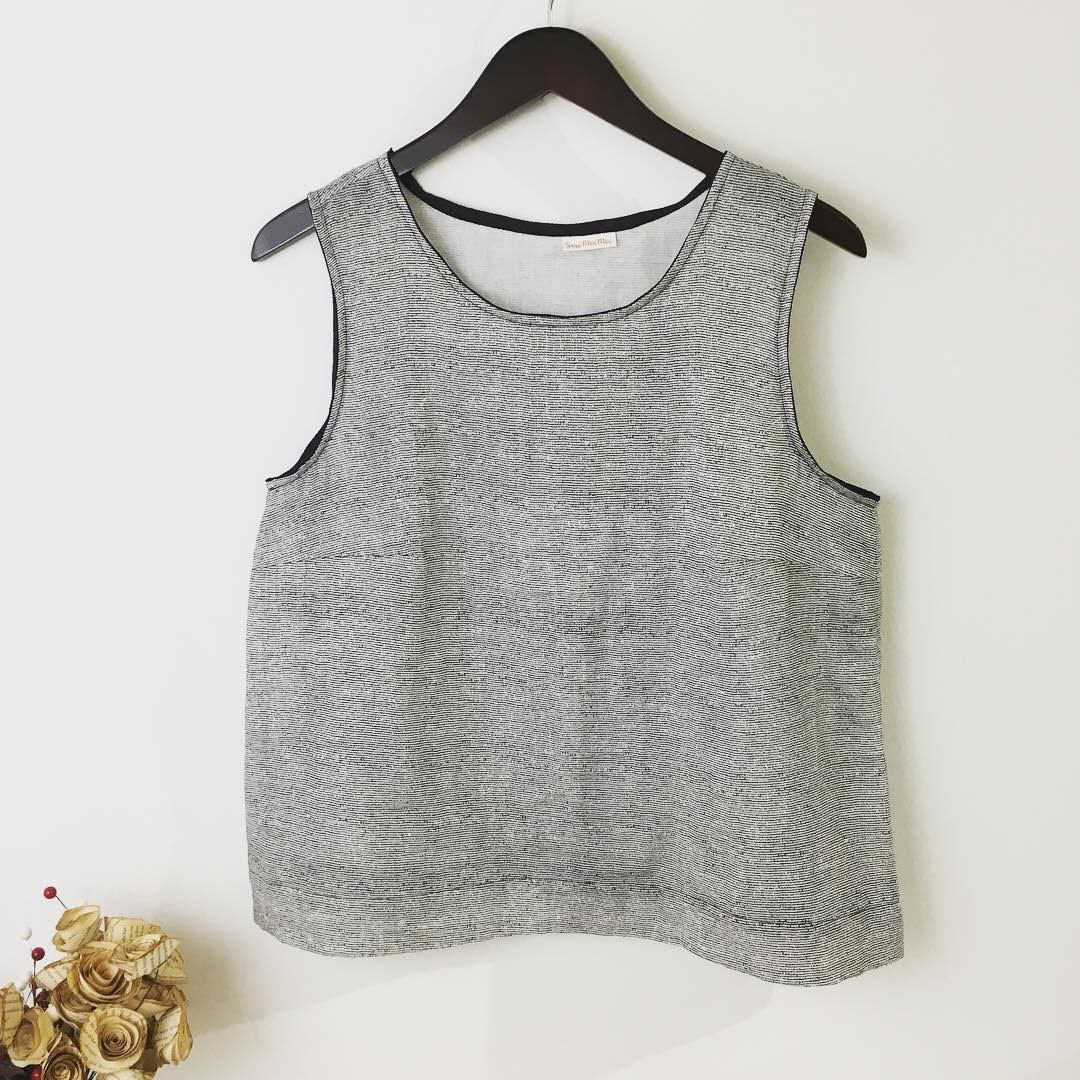

The top is soooo nice in the hanger, but when I wore it, it just pulled in horrible places. The neck was tight, but the biggest problem was the armholes and also the darts. The darts were about 1 inch lower than they should be and the armholes were so tight it was really annoying. But I liked the fabric so much, and overall I loved the look. Instead of re-doing it, I gifted this top to my mother because she’s just a tad smaller than me, it looked really good when she tried it on, so I know it went to a good home.
Then I put the pattern away in the back burner, sad thinking this pattern was not meant for me. But it always itched when I looked on IG how many people look great with this top. But at the time, I did not have the expertise to alter patterns and make hacks, so I kept this pattern thinking I’ll make it again someday when I’m better at it.
About a year passed by and I was on a trip to Taiwan visiting my parents. Every time I’m there I always go to Yongle Textile Market in Taipei and stock up on beautiful Asian fabrics. This place is a 3 story plaza that is full of stalls with vendors that sell all kinds of fabric. There are a handful of them that sell strictly Japanese fabric and I tend to spend most of my time in these stores. But there’s also 2 stores that sell Taiwanese fabric that I love, but these fabrics are more for non-apparel sewing, like handbags and aprons. If you’re ever in Taiwan, you shouldn’t miss this spot! Anyway, sorry I went on a tangent, during my last trip I was there and saw this rust color medium weight fabric that just called to me and I immediately thought it would look amazing as a Willow.
I used this rust medium weight fabric for the front and a leftover stripey linen for the back because - after I bought the fabric, I realized it wasn’t enough for a full top. I thought the contrasting color gave it a very unique look and both tones were very complementary of each other. This time around, I graded between a 14 for top and 12 for bottom. I have learn that I need to do this to all the patterns I use because I’m top heavy (not that my boobs are big, but I’ve been told I have swimmer’s shoulders - they said it was a compliment, but I don’t know… hahaha). I also lengthen the top by 2 inches because I’ve learned my torso is longer than the standard. Check out the first version:


Look how pretty the colors are on this top! I seriously love that linen in the back, it’s my favorite part of the shirt. And the armholes fit very well too. But - what’s up with the neckline? Why does it look so tiny compared to the first one I made? I followed the pattern on the neck, I didn’t make any changes to it… so what’s up? This neckline does NOT look flattering on me AT ALL!
I was so sad about it, but I wasn’t about to give up. This top was soooo close to what I had envisioned, and I was going to spend all the time to learn how to make it fit. That week, I met with a fellow IG sewing friend for lunch and I showed her the top and pitched her the idea of making a V-Neck to it. I’ve noticed V-Necks look much better on me because again - of my wide chest and shoulders. But the problem with a woven v-neck is that I did not know how to finish the hem. I thought surely there’s a way to use bias binding for a v-neck, right? Sure enough - check out this tutorial by 100 Acts of Sewing. Best tutorial EVER and it saved my top! Right after lunch, I walked over to Britex and got a really beautiful linen bias binding, came home and immediately took the top to the cutting table.
I don’t even know how much I chopped off, I was so determined I just grabbed the ruler and without measuring I just chopped off the neckline in a v-neck shape. Then ran upstairs to the sewing machine and started binding the neckline using the tutorial. Check out the results - this is the most beautiful v-neck binding I have ever made and will definitely be making it this way moving forward.


And voila, just like that - it fit and it was wonderful. I was grinning all afternoon feeling so accomplished and proud that I was able to make it work. I was so proud to realize that everyone’s body is unique and there’s nothing wrong to make changes to a pattern, instead - it’s very unusual that a pattern fits everyone as is. This is why us sewists make our own clothes, so that we can make changes to it to fit to our specifications. I feel like after this top, I totally went up another level in my sewing journey because it opened my eyes to what I really need to do in order to make garments that fit me well.

Here is the before and after pics - side by side. Not only does the neckline look better, but the v-neck chopping also took away some extra fabric that was bulging on my chest.
I wear this top all the time now, and to-date, is one of my best fitting tops.
With what I have learned about this pattern, I definitely see making more of these tops in my future. And if you look at it - I kind of hacked the Willow Tank to be the Hadley Top by same maker, right? :)

