


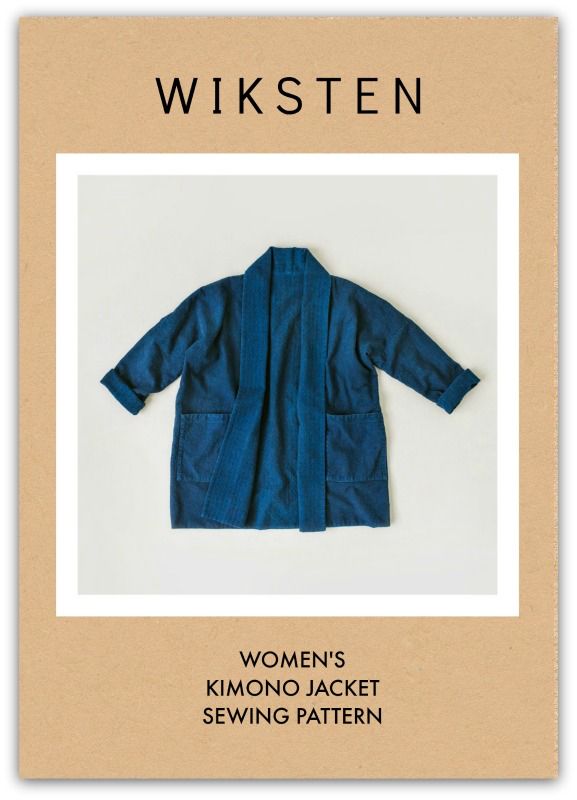
Kimono Jacket | Wiksten
My latest sewing addiction has to be the Wiksten Kimono Jacket. It is such a good straight forward sew, it makes sewing such a joy!!! (Because yes, sewing is not ALWAYS fun, it sucks whenever your thread jams, your sewing machine starts making a funny sound, when the pattern is so confusing you don’t even know where to start…the list is endless!).
I’ve always been attracted to Japanese fashion, and no - I’m not talking about the Harajuku style - instead, I’m referring to the simple shapes, oversized and boxy outfits. Take a look at these examples:
Michiyo Ito - MayMe Japanese brand
Natsuno Hiraiwa - Instagram Account
Machiko Kayaki - Simple Chic fashion
General search on Google Images - Japanese Fashion
It’s no wonder when I saw the word “kimono” on the pattern name, I was immediately drawn to it. “Oh My! Am I really looking at a jacket pattern?” I thought to myself. So far, I’ve only made simple tops and a couple pairs of slouchy pants. Can I really make this jacket? It didn’t look intimidating, but I sure was nervous about picking up this pattern just because it’s a jacket! When I think of jackets, I think - tons of fabrics, hardware, and complexity with the collar and lining. Adds up to too complicated!

Double Face Fabric but I don’t know maker or content…
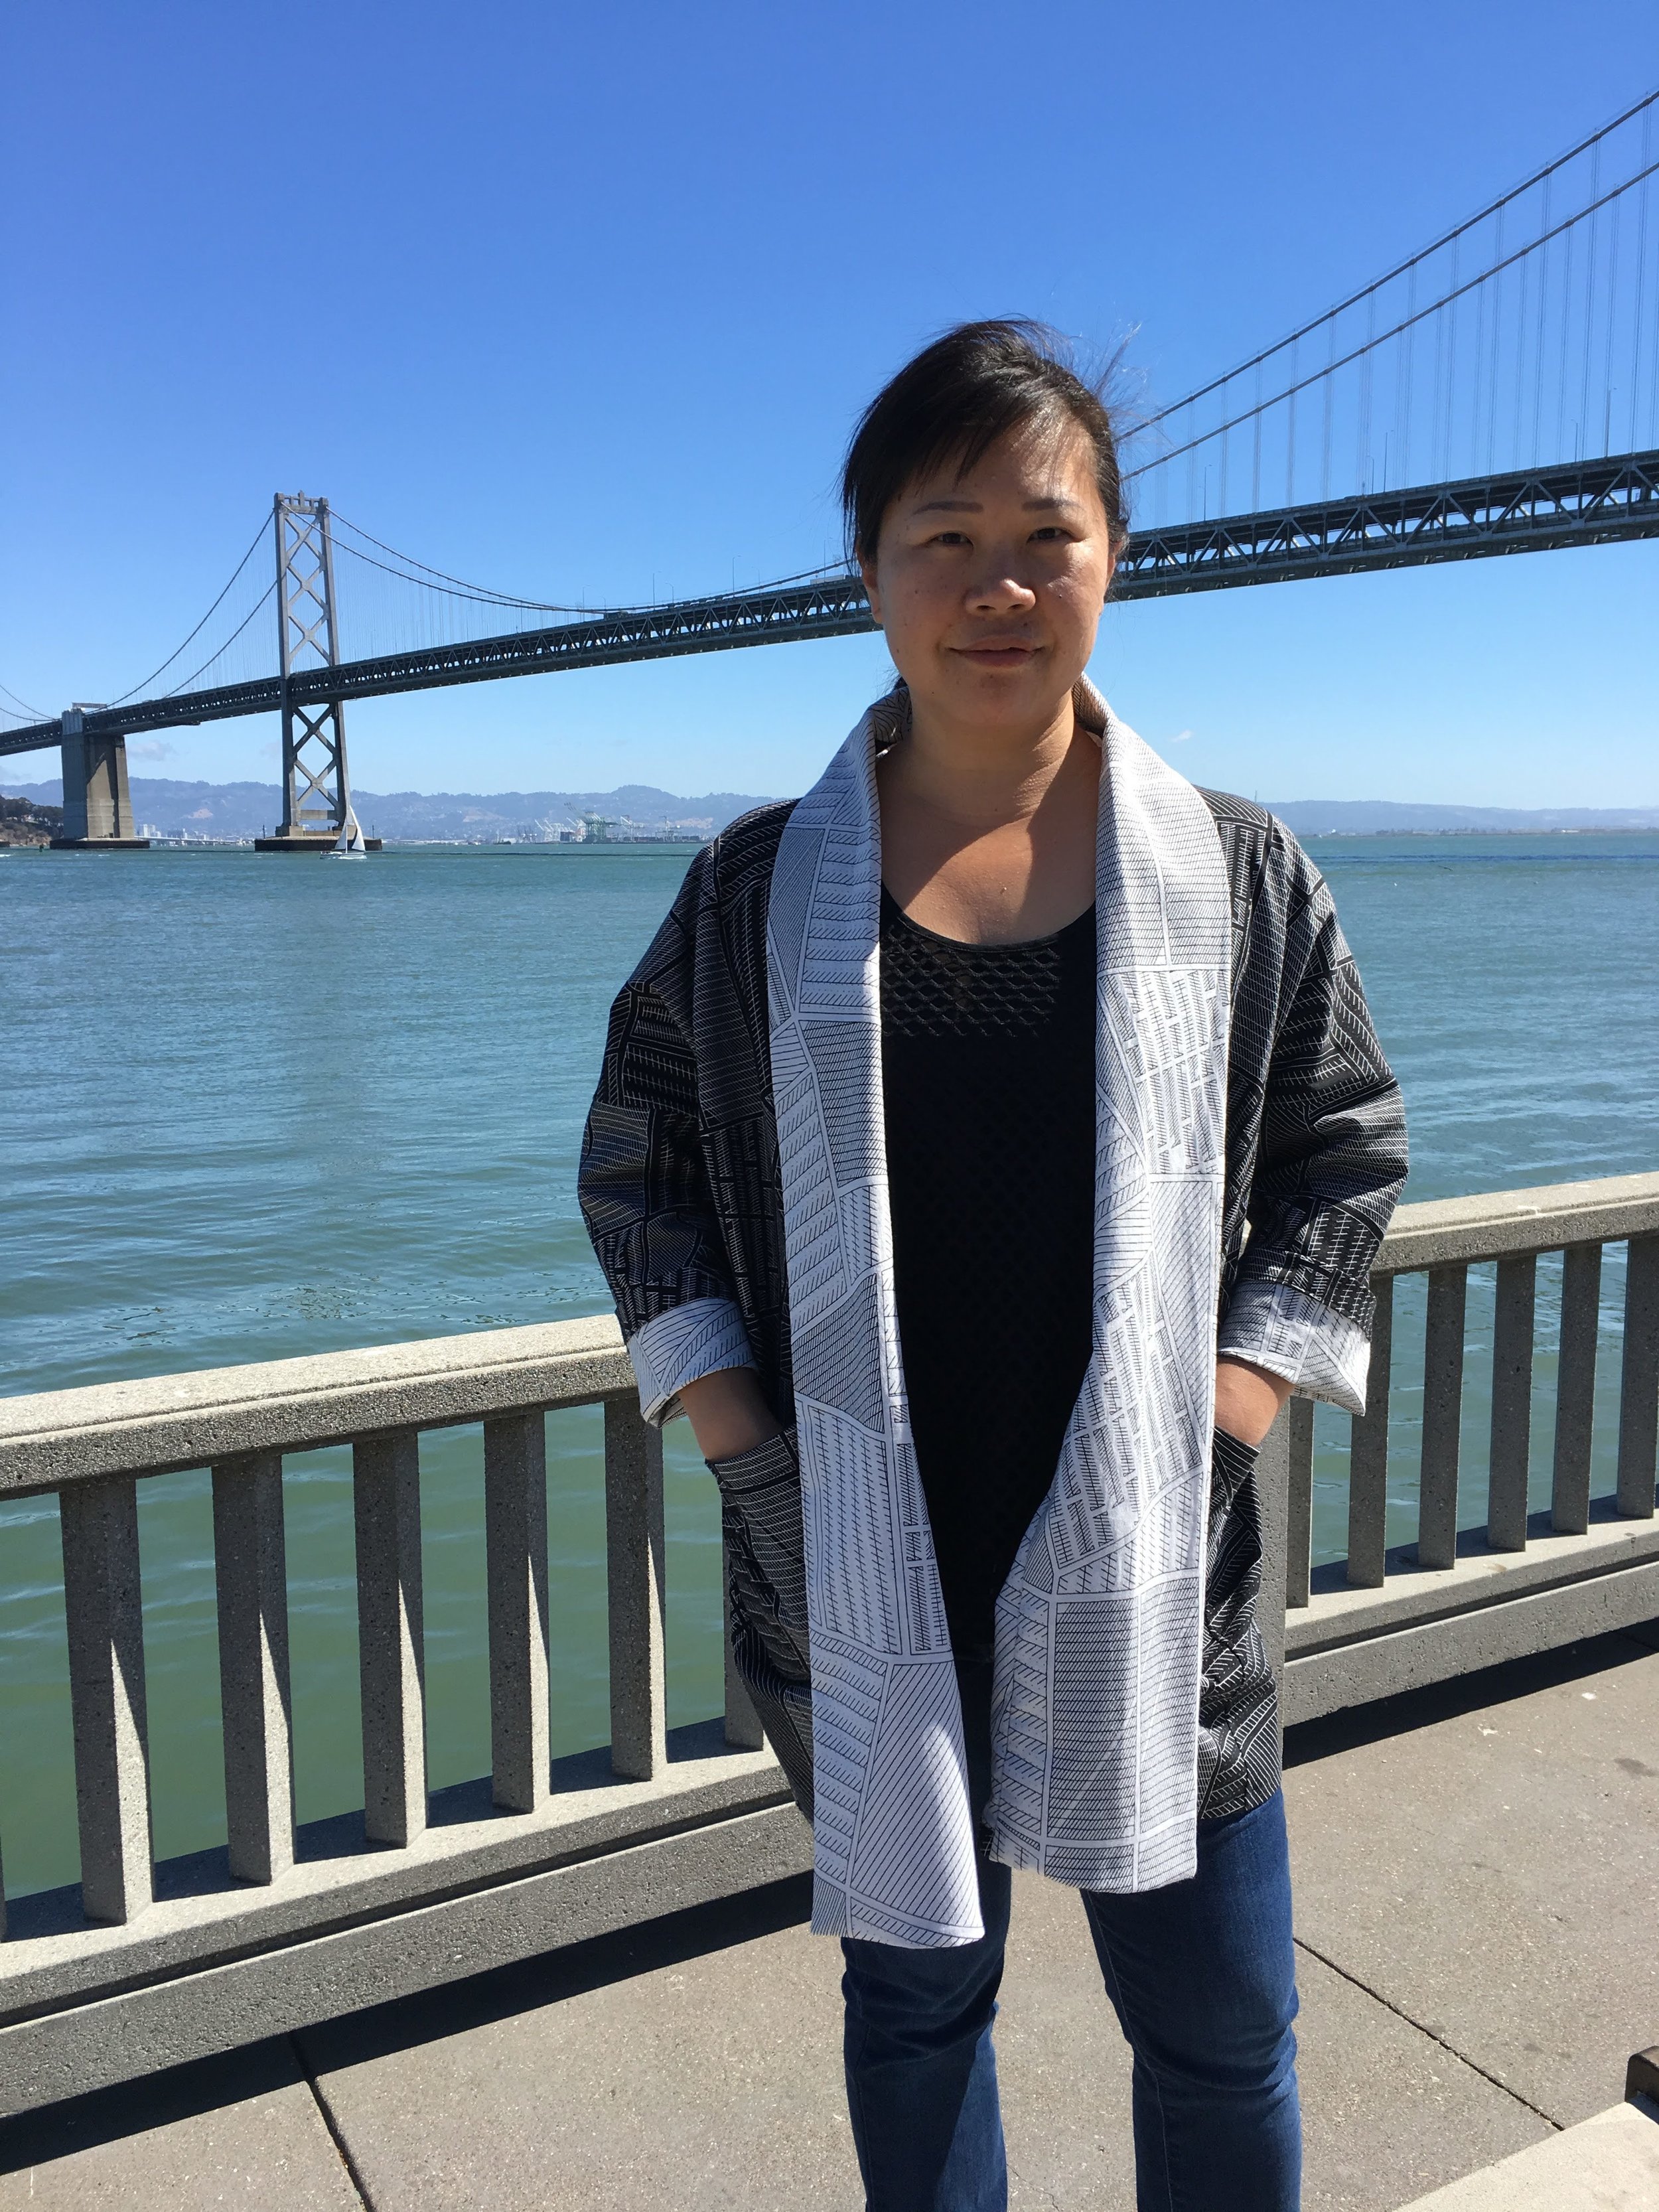
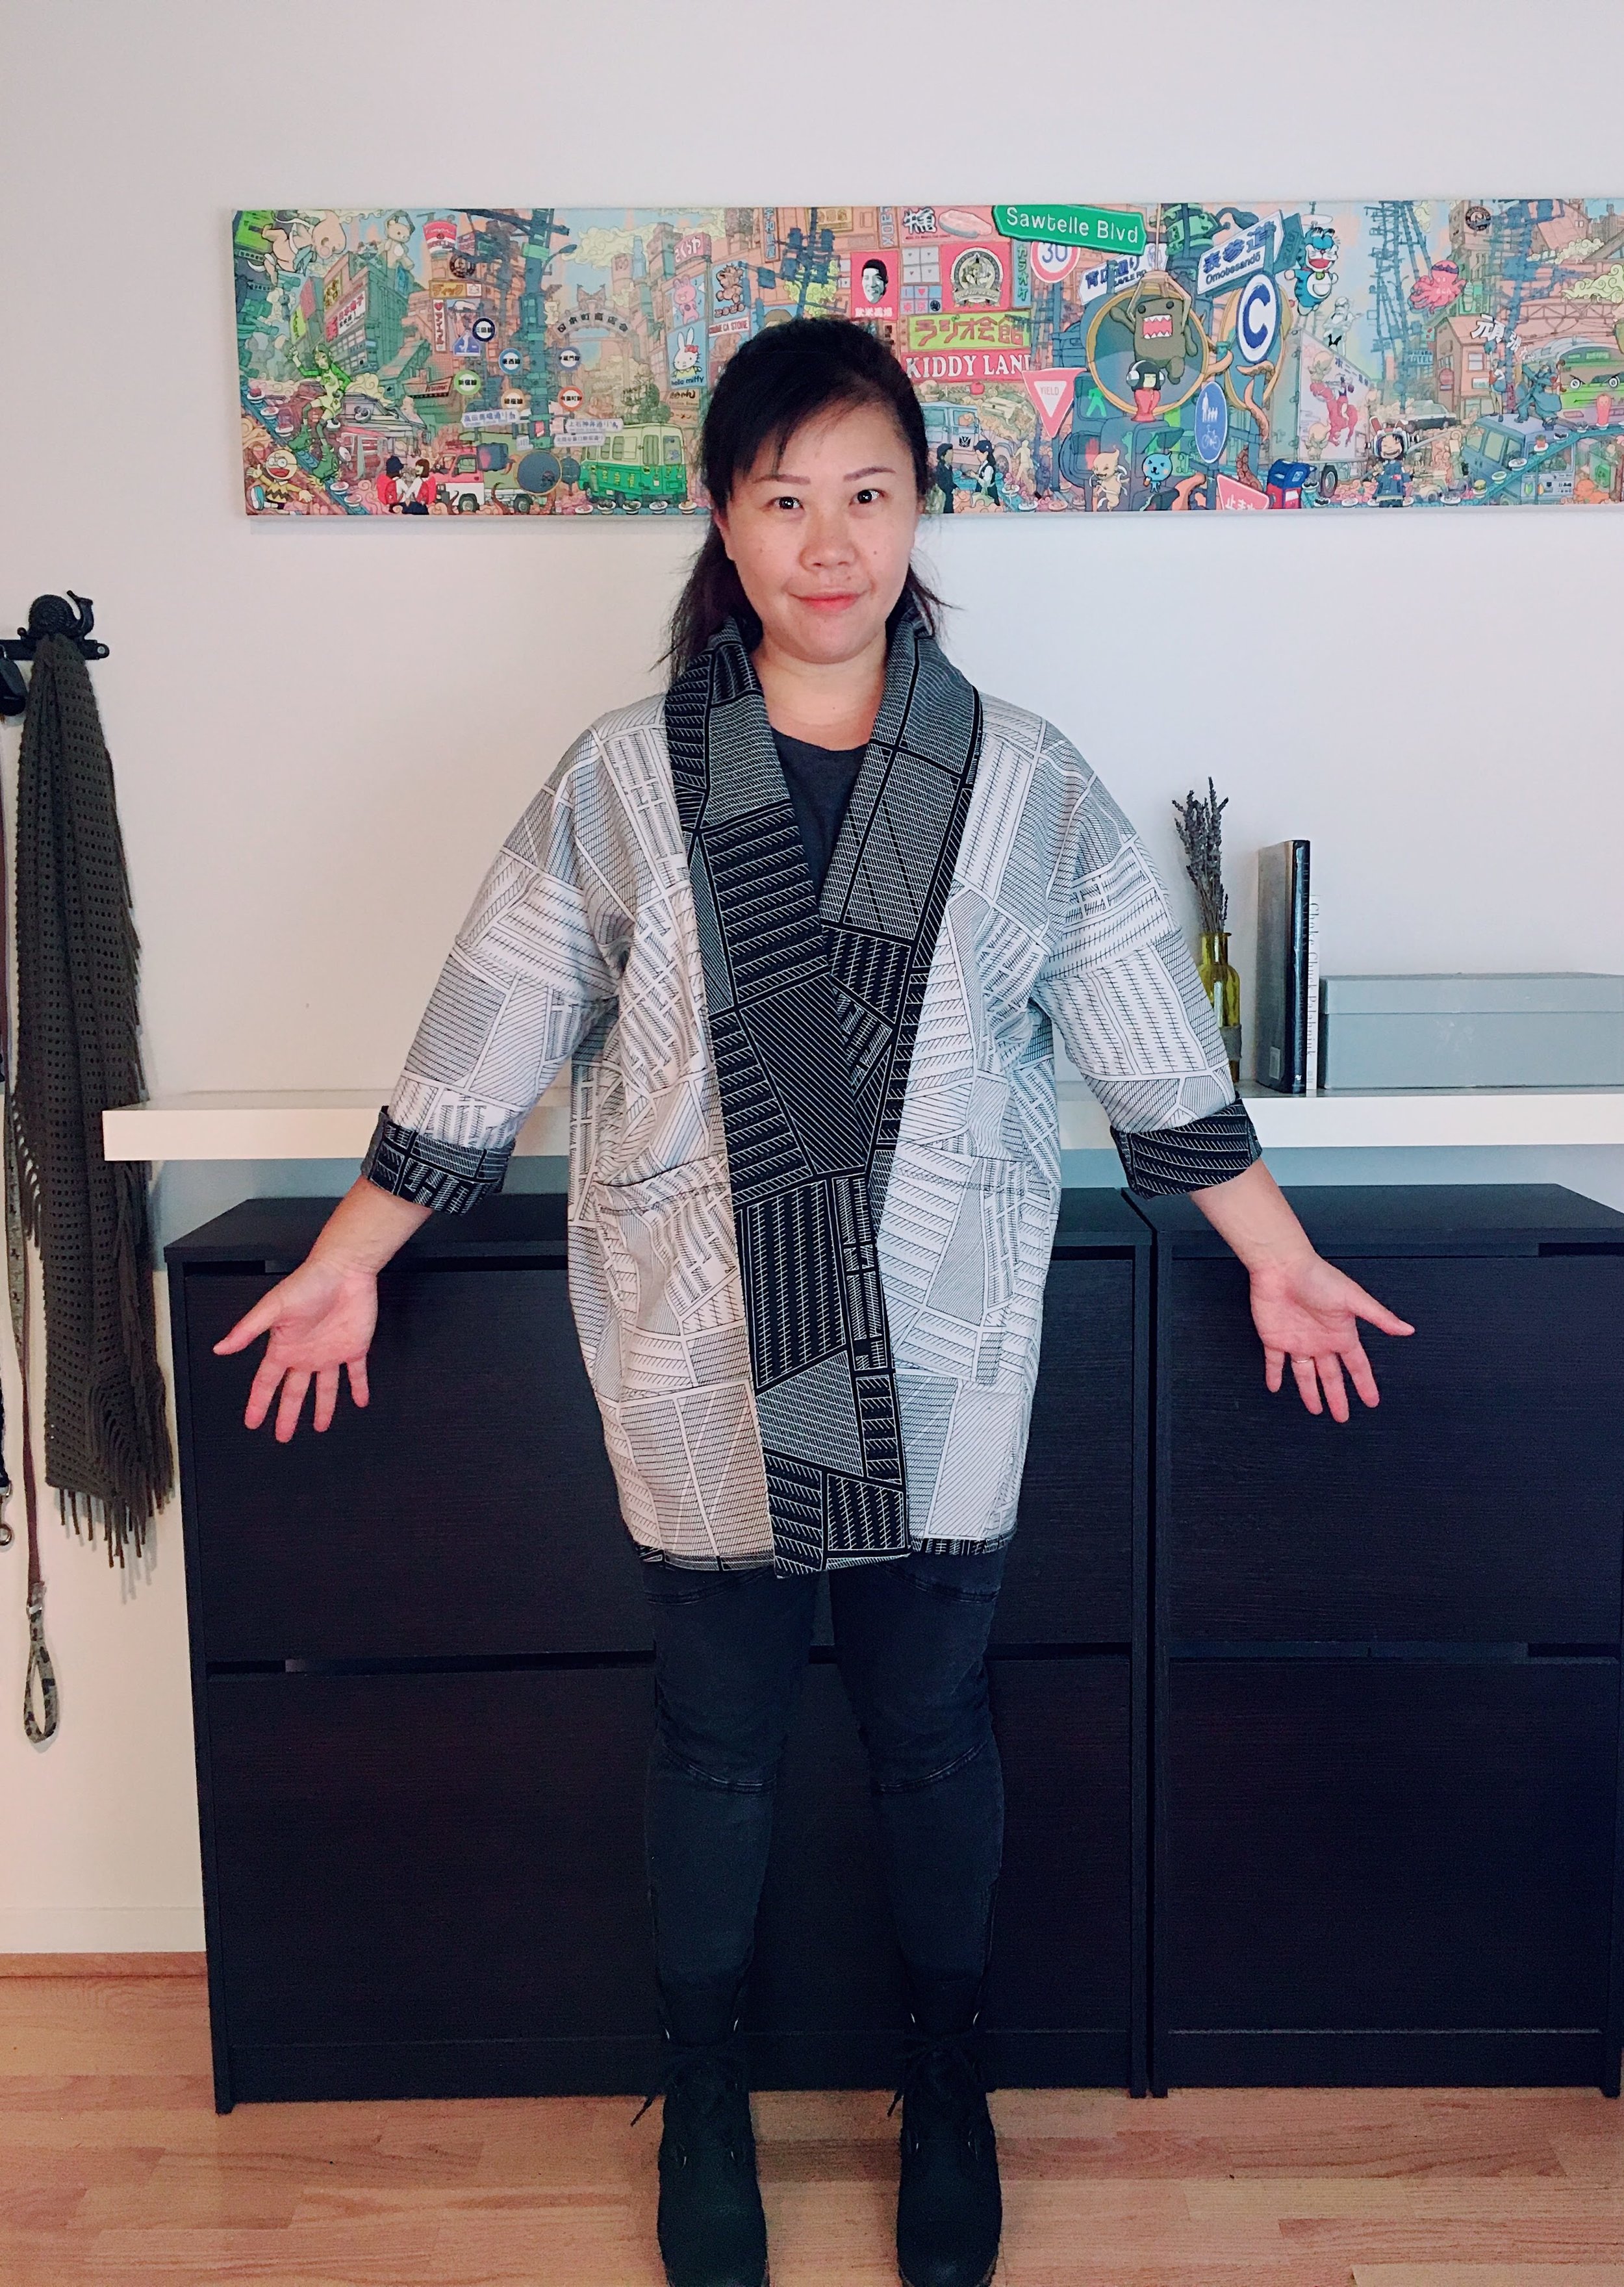
But look at this jacket, how can you not like it and want to own one? When I searched online for similar jackets, they were going for $150+! In my earlier days, I would have totally spent that money for a jacket, but these days, I try to be more conscious about what and where I buy, plus I like to challenge myself by saying “I could make that”. So one day, I gathered up the courage and went to the fabric store (Stonemountain & Daughter Fabrics in Berkeley) with this pattern in mind. I picked up the pattern and started searching endlessly for the perfect fabric that would go well for this jacket. In my head, I had this vision of what it would look like and then I saw it. I saw that geometric double sided fabric, med-heavyweight, it was perfect exactly what I had in mind!
I was so giggly when driving home, it was like I had just opened my Christmas gift on the day! Once I got home, I immediately put the fabric in the washer and waited for it anxiously to dry while I cut the pattern. I decided to go with the Medium size at Medium Length. Then I started thinking, what if I do horribly with this project and waste all that nice fabric? This is the first time making a jacket, so surely I should test it out first, right? But darn it! that means I will have to wait until I find test fabric before I can get to trying this project!!! But I didn’t want to risk it…so I had to wait.
Next day, I decided to visit FabrixSF on Clement St. - known for having overstock fabric at very discounted prices. I figured their prices are so reasonable I could definitely find fabric to use for testing patterns (toile or muslin in sewing lingo) for the jacket. Sure enough, I found a quilted polyester blend fabric in charcoal that I thought would do the job. Besides, I’ve never seen quilted fabric! and also I just pictured a blanket as a jacket. Why the heck not! Something similar can be found on Fabric.com but not for $3.99/yard like I did at FabrixSF!
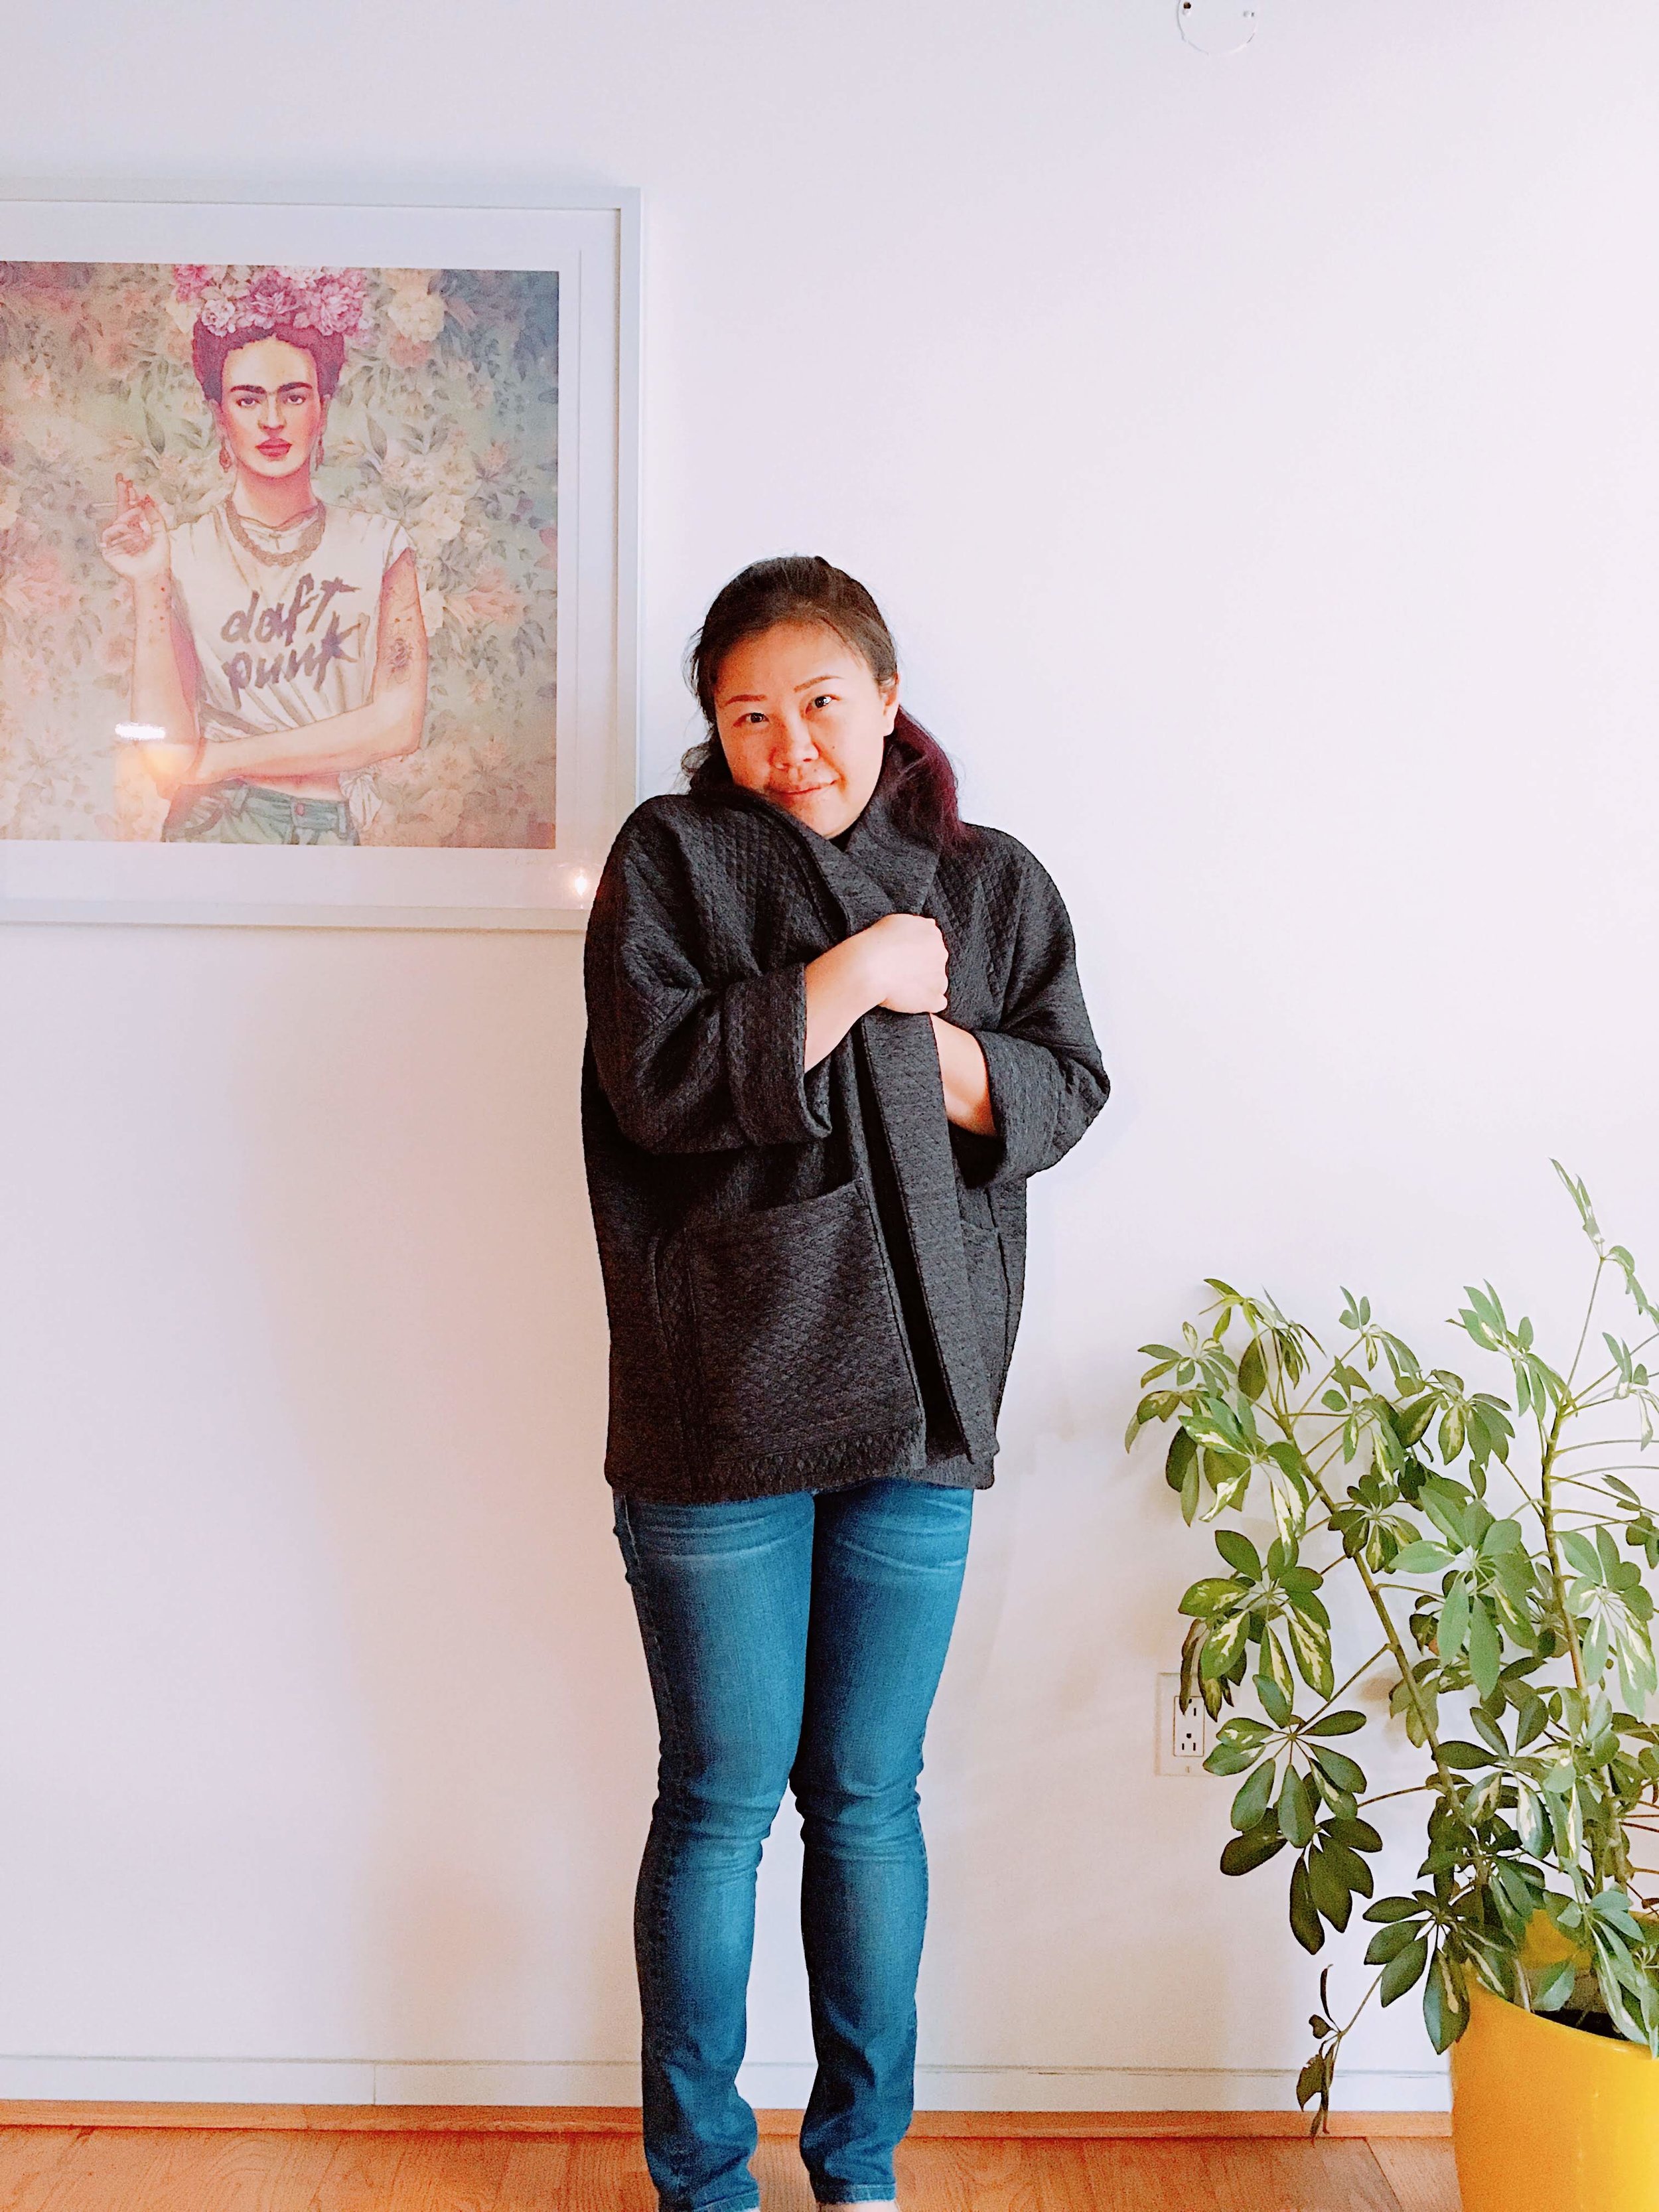
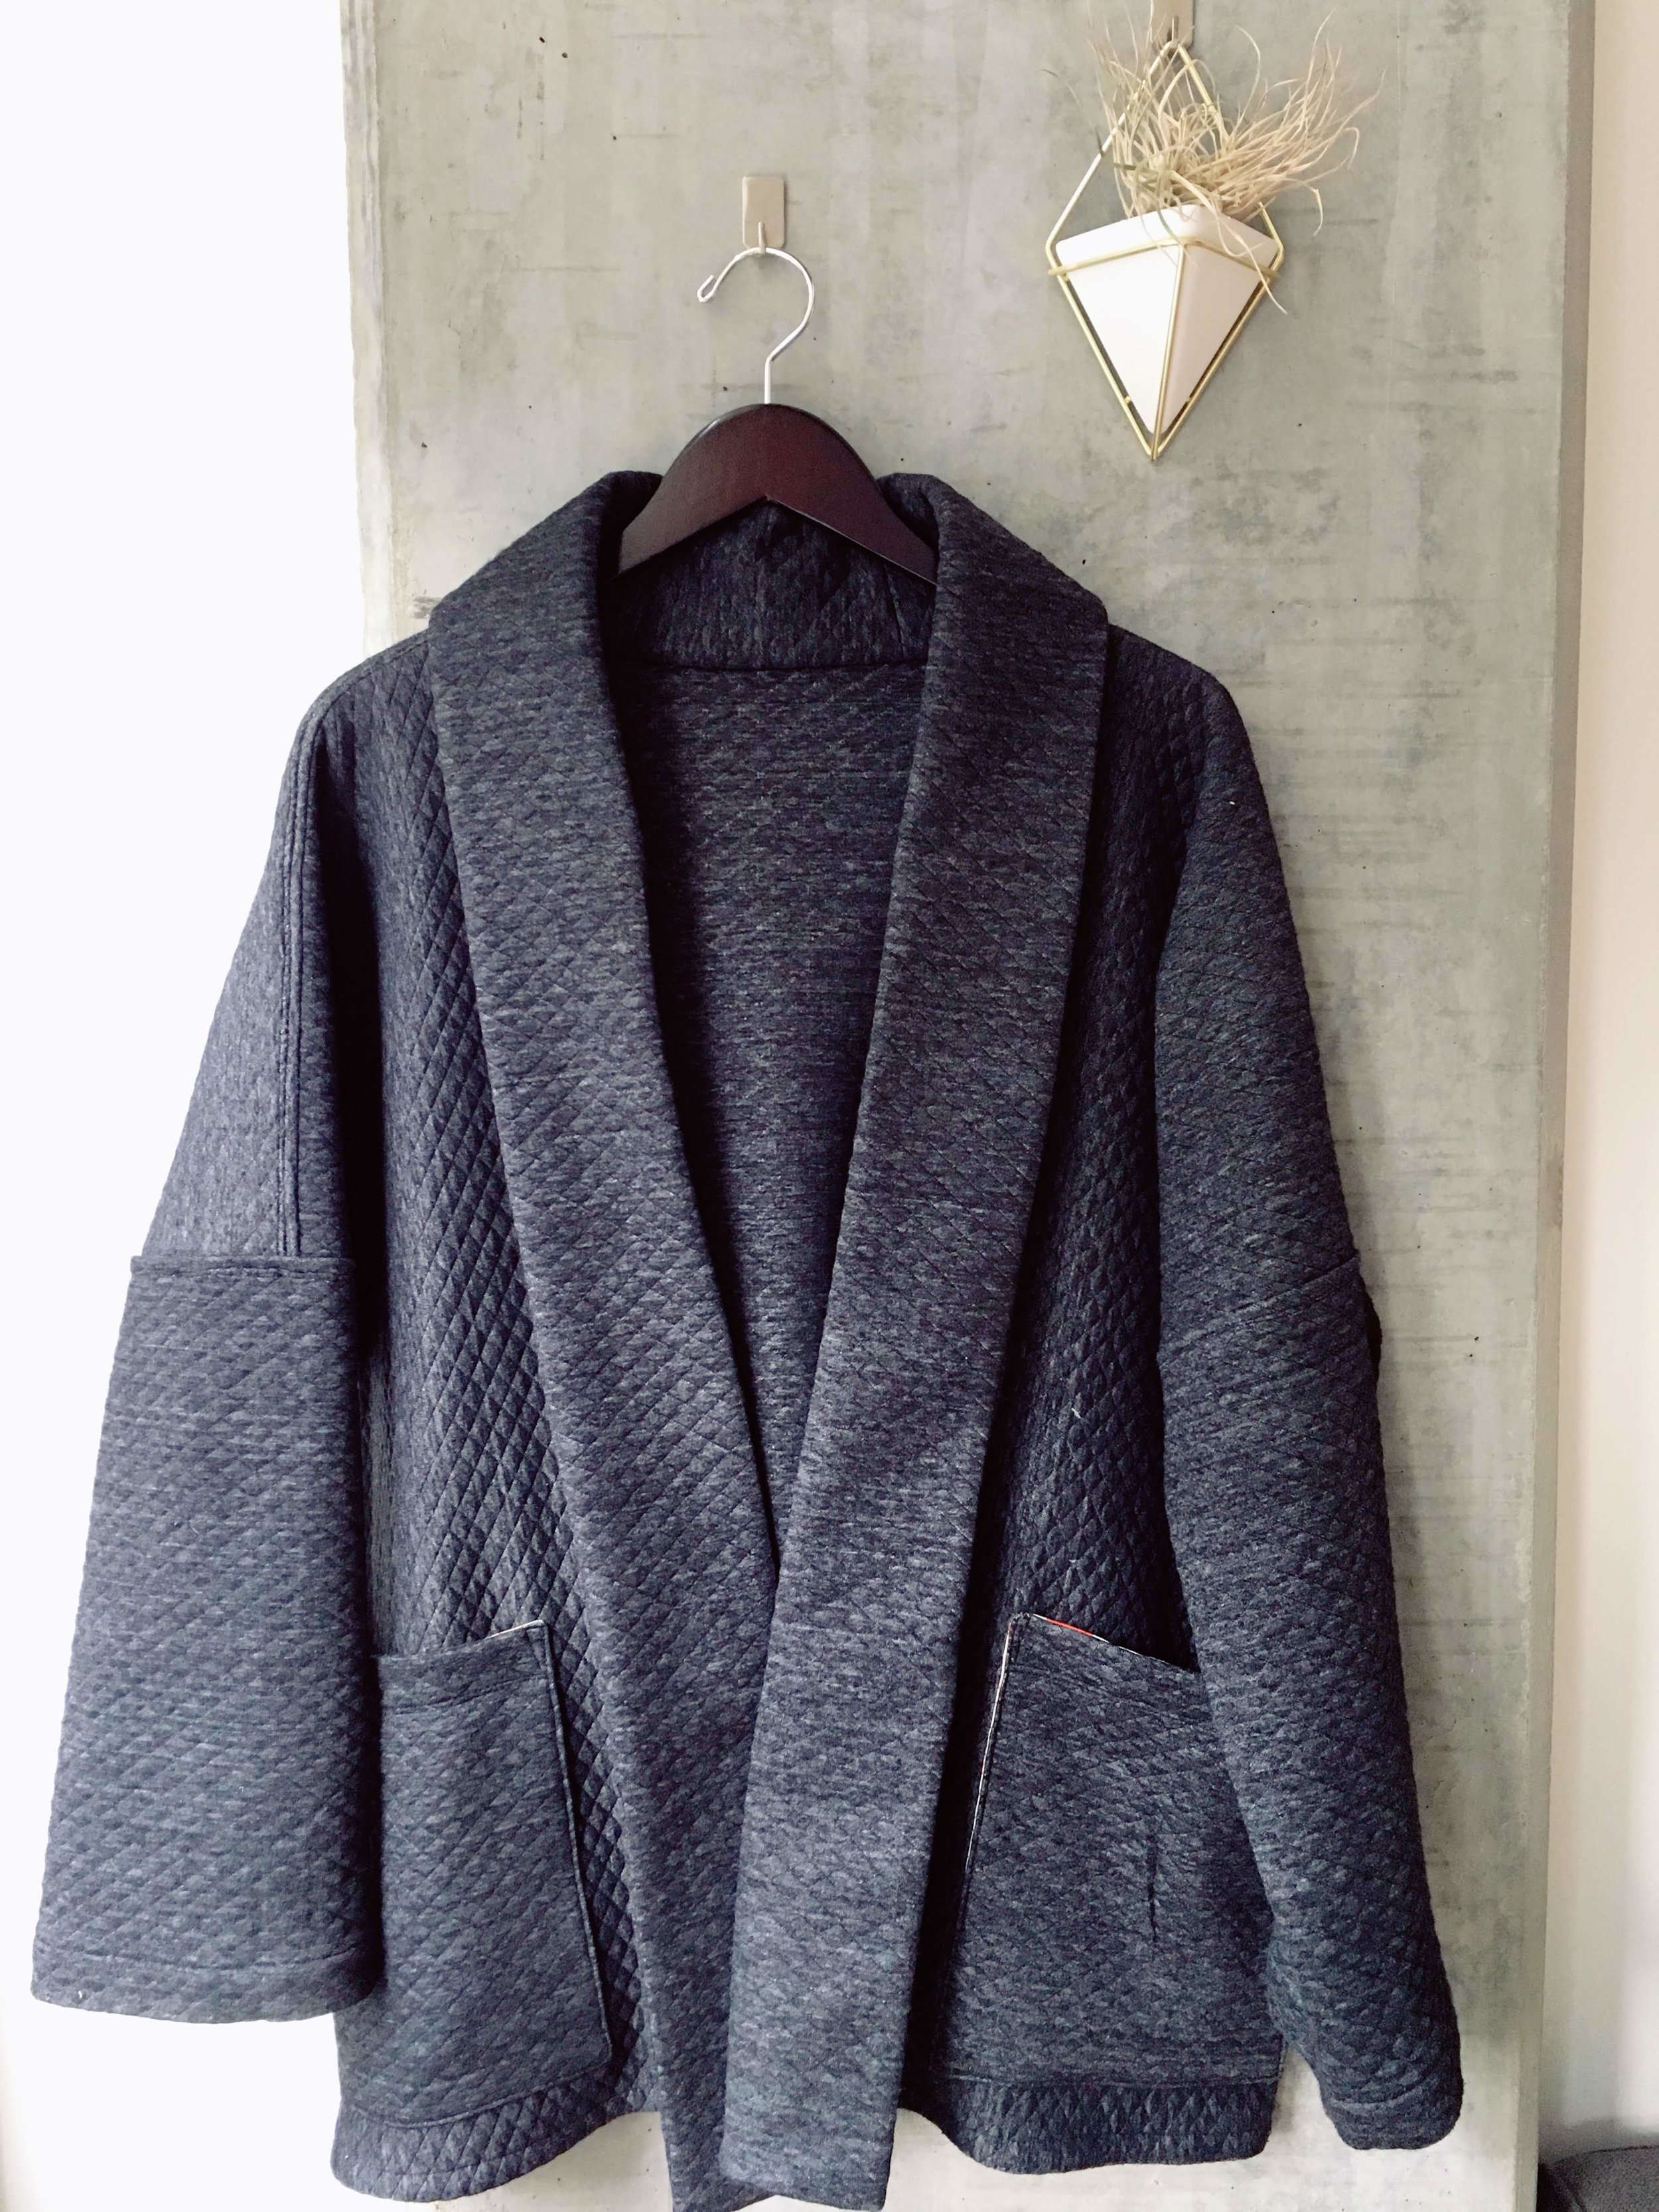
first “muslin” jacket
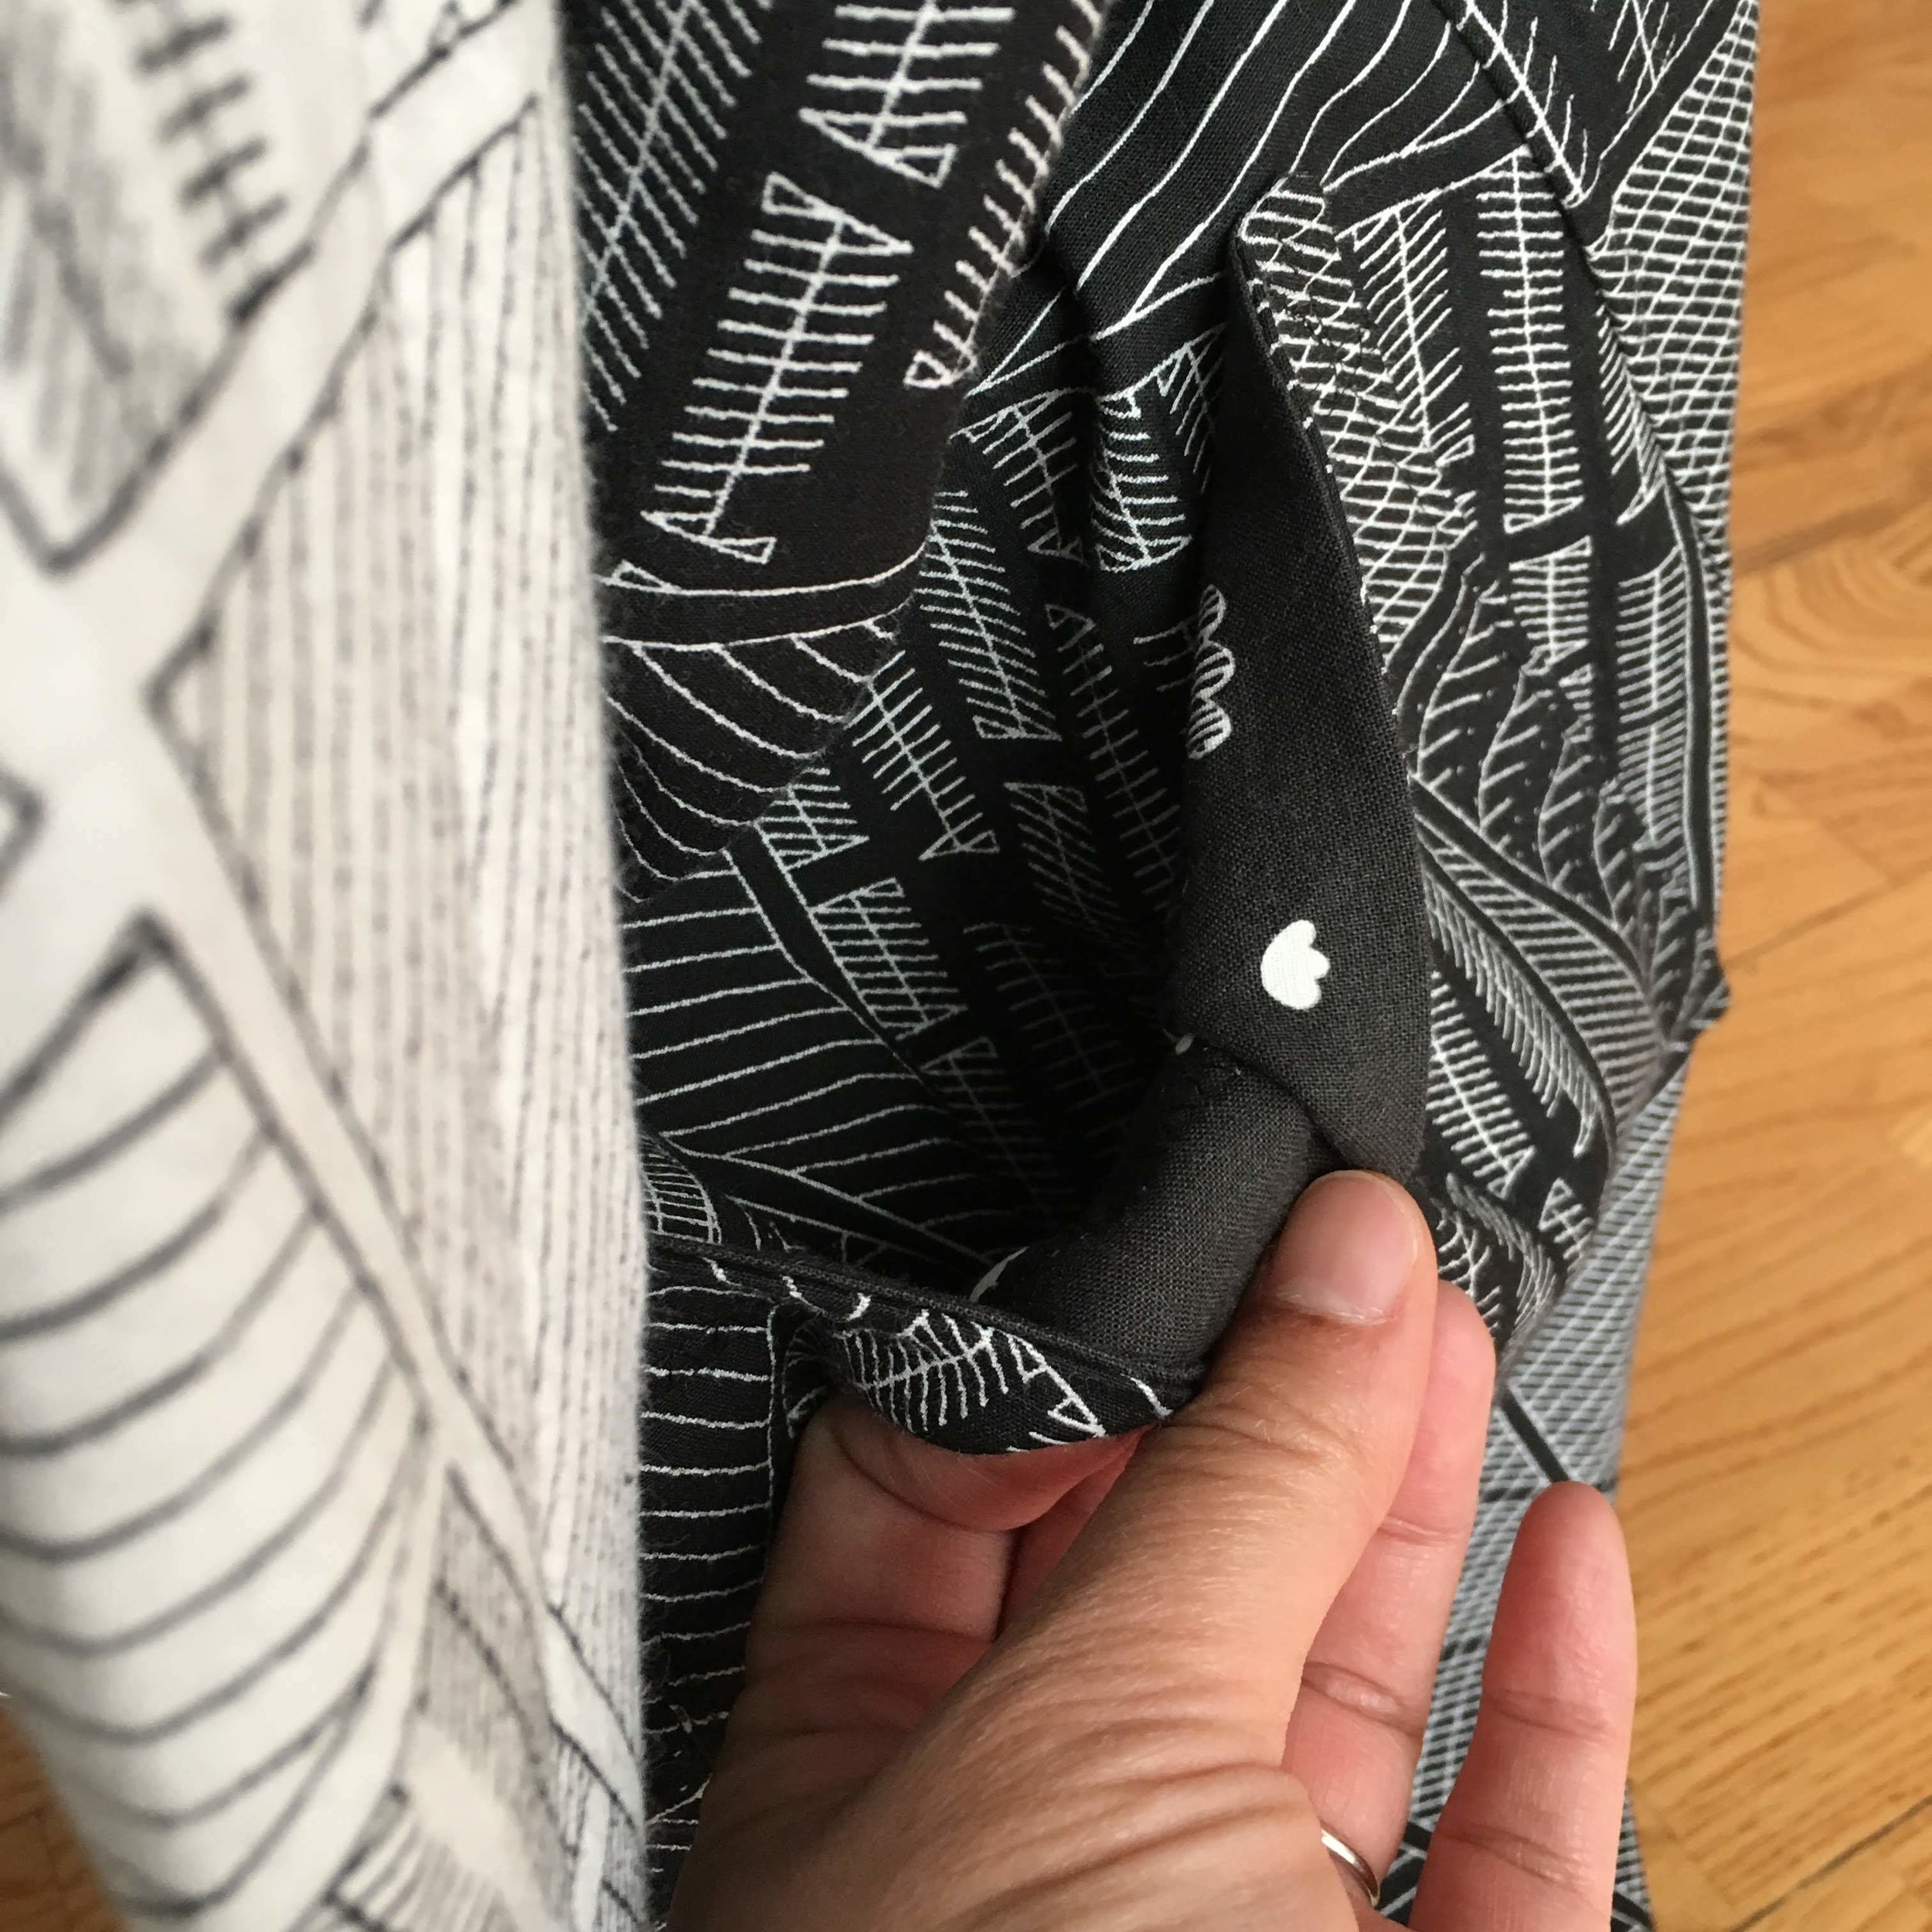
Using the quilted fabric, I traced the Medium size Medium Length pattern for the Wiksten Kimono Jacket. I chose to make the unlined version since my “real” jacket with the double face fabric would also be unlined. I cut all the outer layer pieces plus the collar linings (making it 4 collar pieces total) all using this quilted fabric. For the pockets, I cut the outer layer pieces in quilted fabric plus the lining pieces using a Cotton and Steel black/white tulips fabric. Now that all the pieces were cut… here goes the sewing!!!
I followed the instructions for the outer layer as directed by the pattern manual. But here are some changes I made:
Sewing seam allowance changed to 1/2 inches instead of 3/8.
Flat fell seam used for all seam finishes (This is why I increased the seam allowance).
At the bottom of the jacket, I just did a normal double fold hem at 1/2 inches. I did this before I attached the collars.
This last step I learned to do from reading Made-by-Rae’s Reversible Wiksten Kimono blogpost. Check it out, her jacket is super cute and looks oh-so-cozy in that fancy flannel!!!
Moved pockets up by 1.5 inches because my fabric was not long enough for the full medium length (it was about 1 inch short) so I just moved up the pockets a bit to account for this shortage.
I didn’t add an inside pocket because I wanted to keep things as simple as possible, and adding the inside pocket would mean I would need to have mad skills lining up both pockets at the right angle and sewing them very precisely once.
When I stared at the finished garment, all I could say was - I don’t know why I was so scared about making a jacket. This pattern was so easy to follow, easy to sew, and I had a smile every step of the way! I didn’t have any hiccups, any issues, any thread crazes, anything! It was smoooooth sailing all the way! Either I was really lucky, or this pattern is just really awesome. I say the latter since I never have any luck with anything. HA!
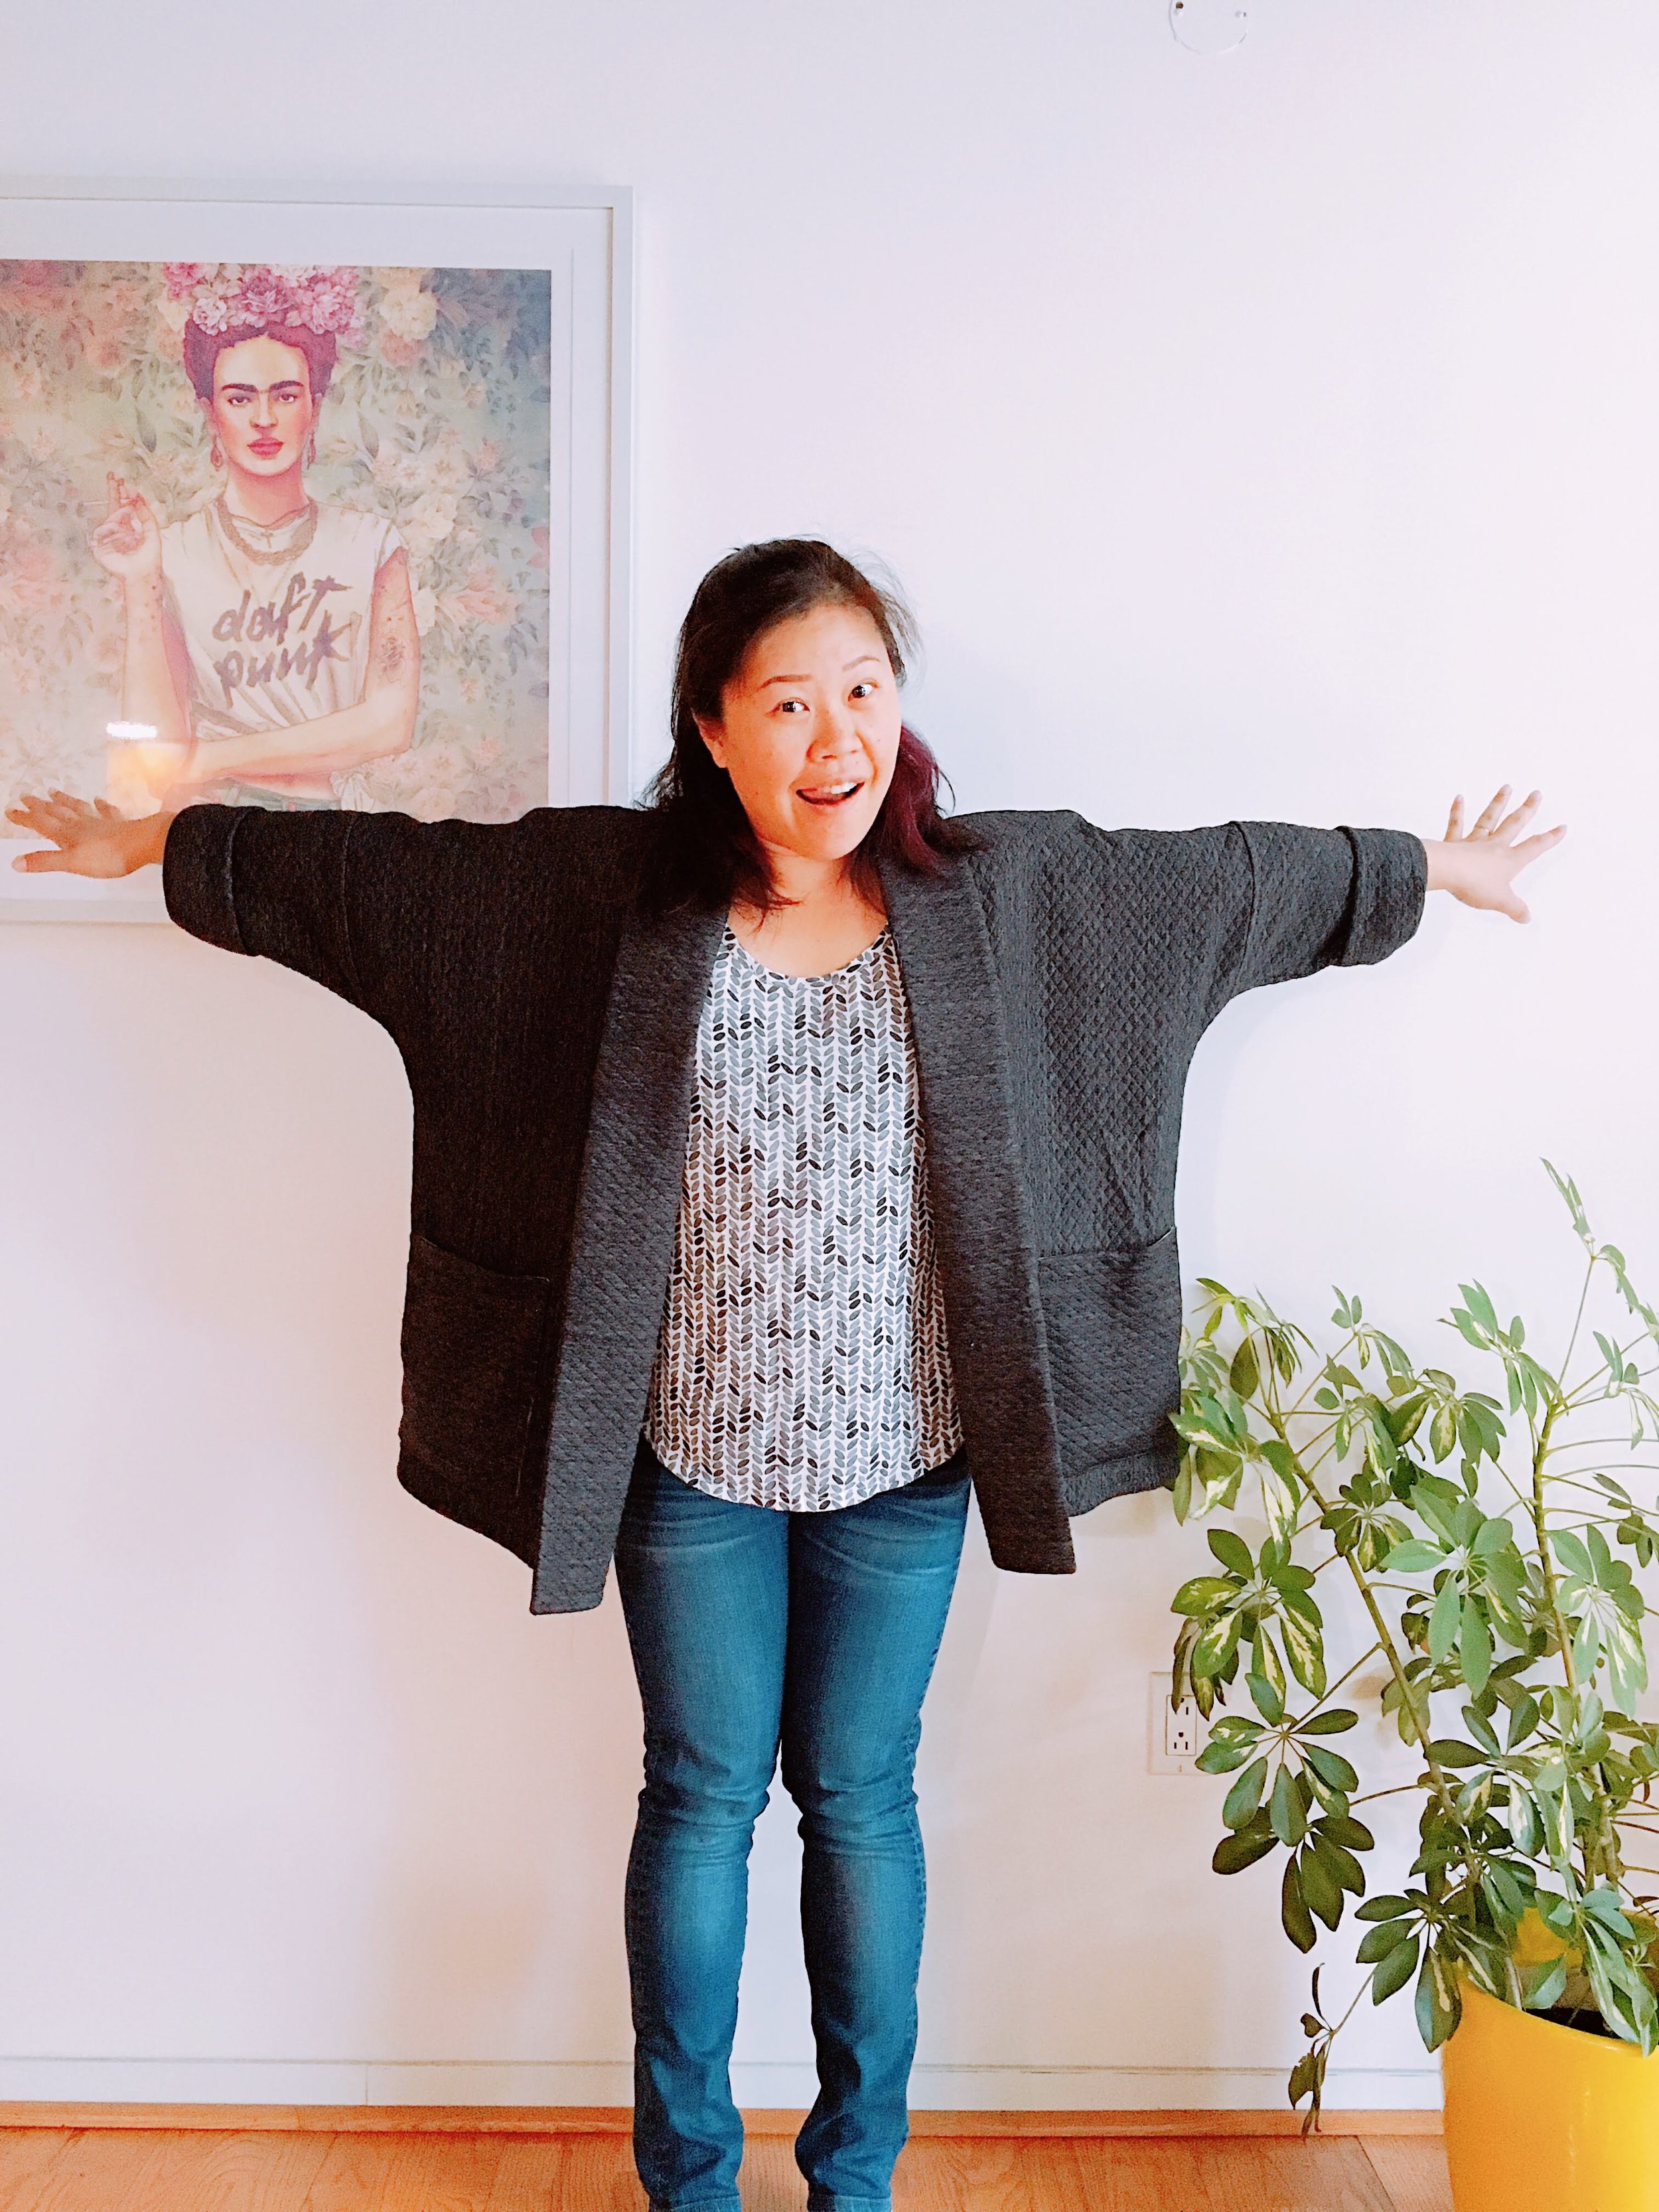
Here’s the finished look. What do you think? Is it cozy enough? :)

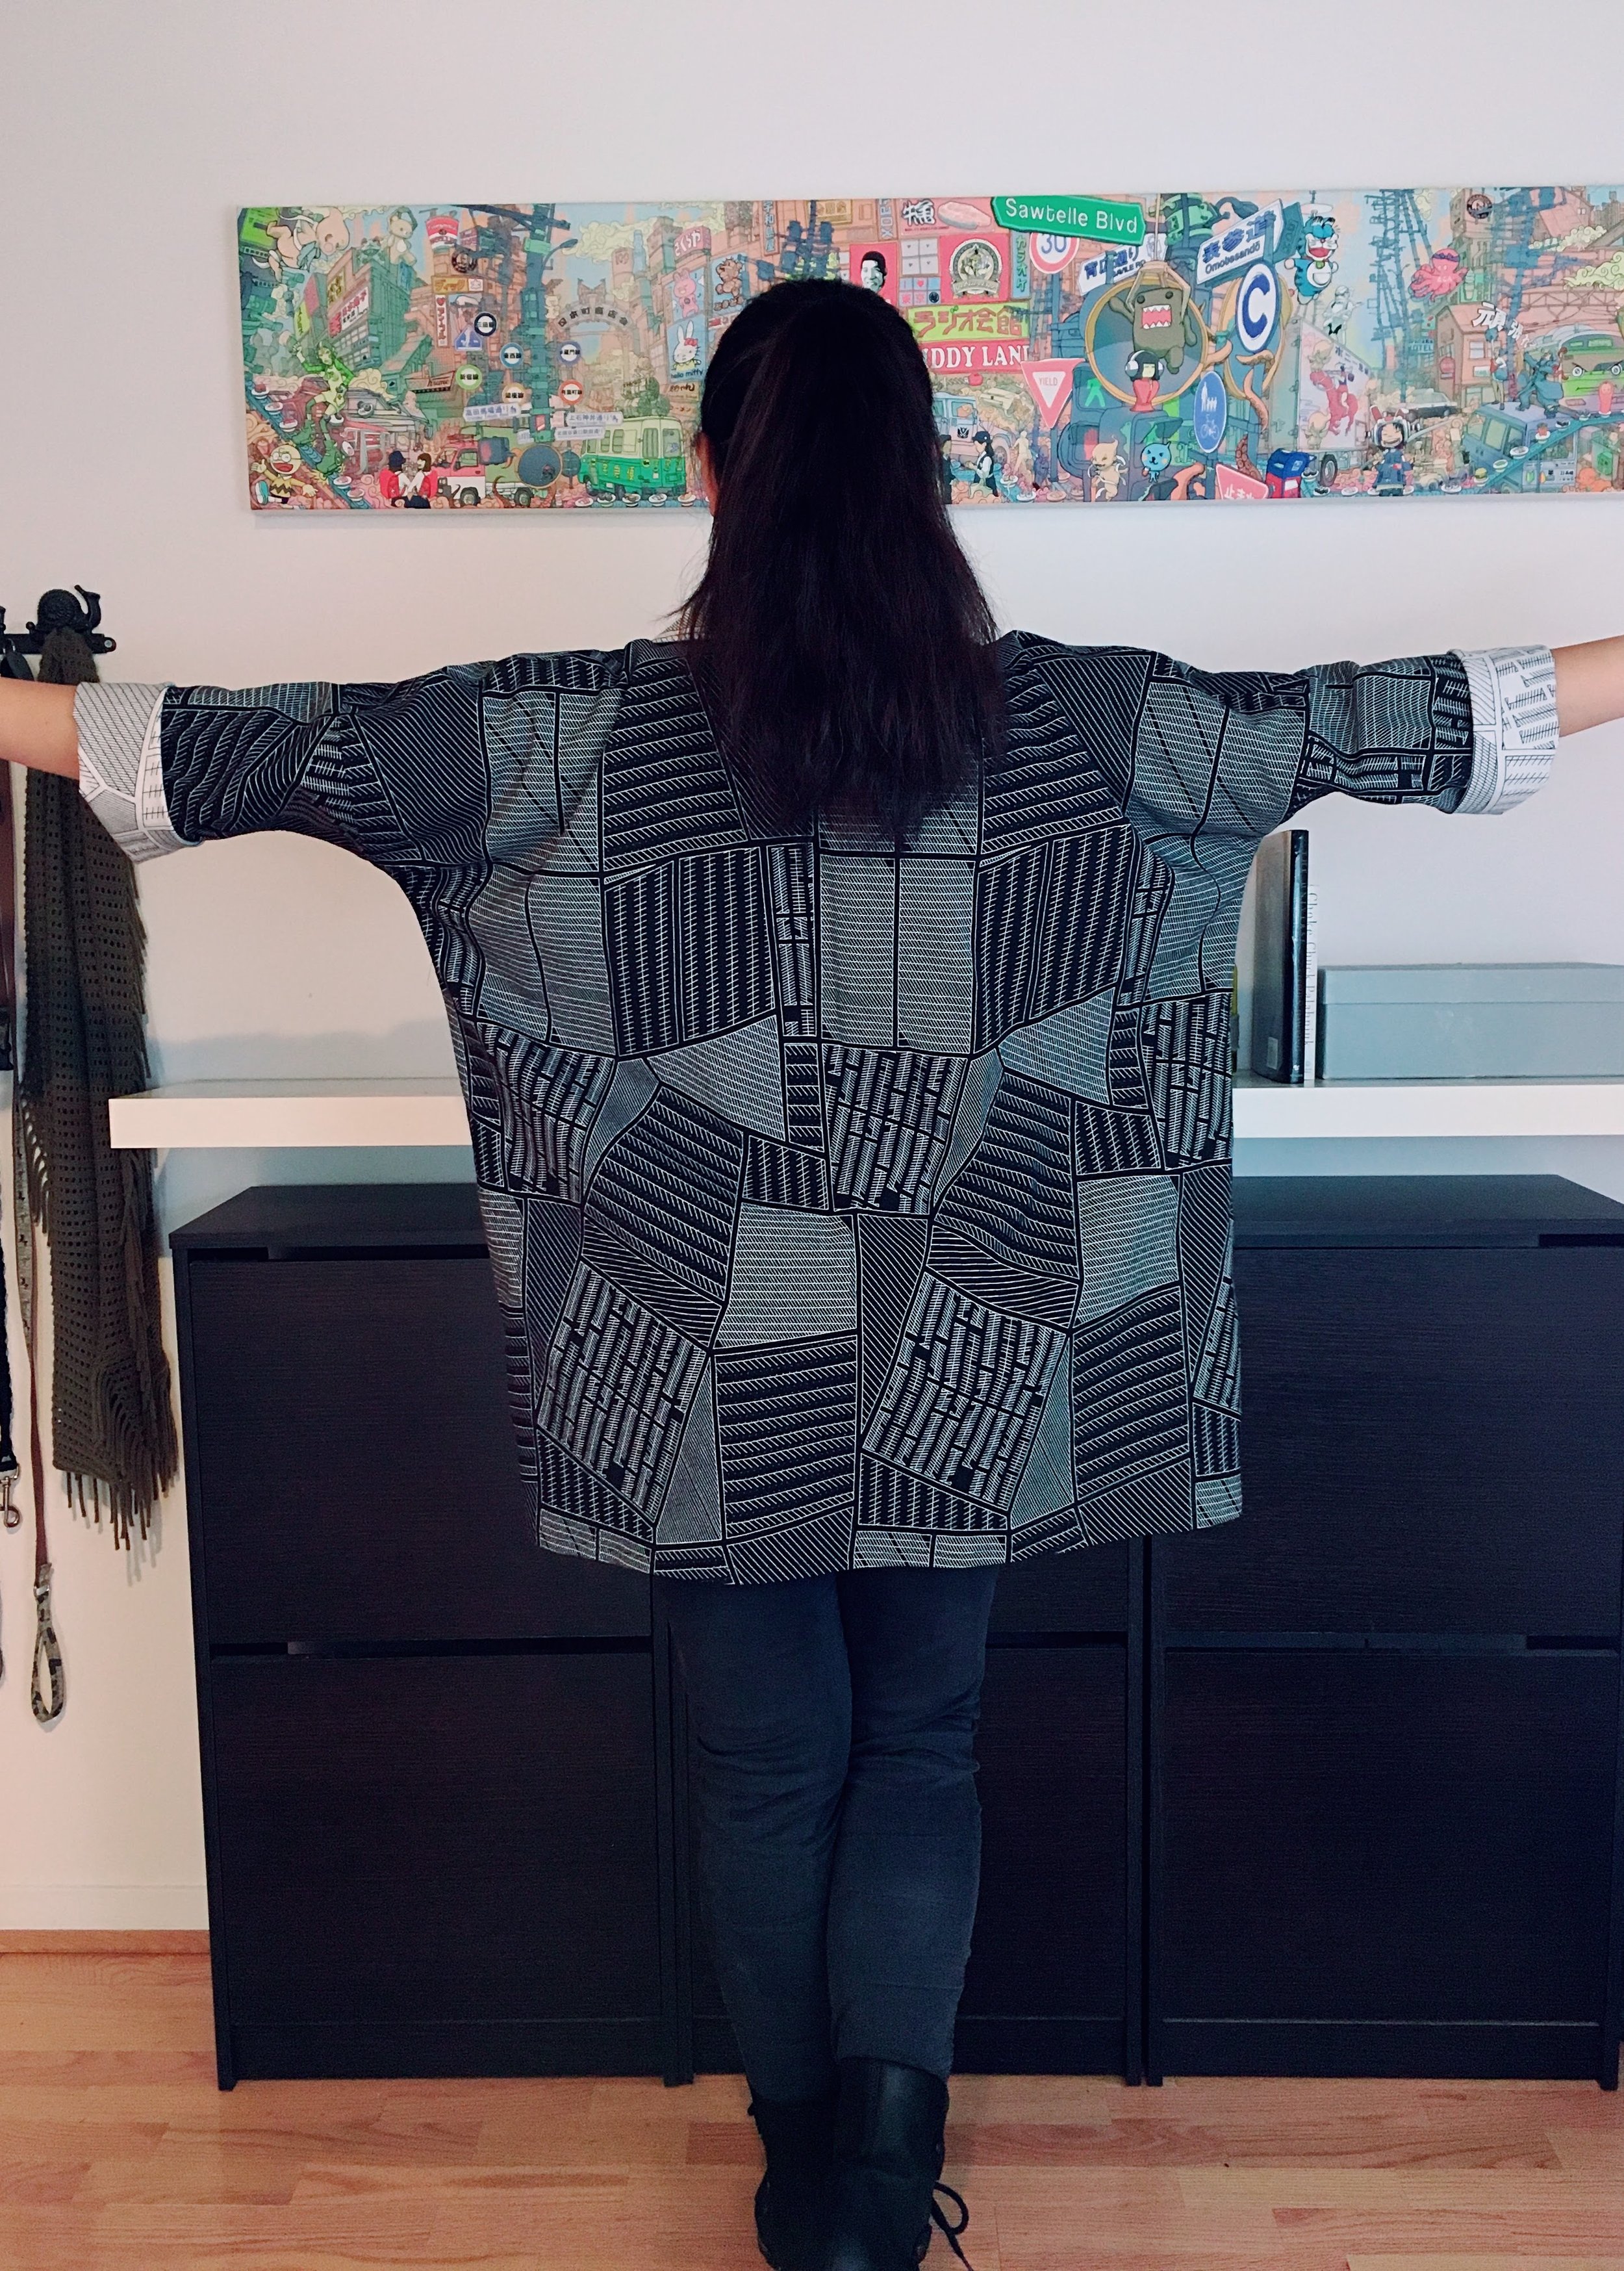
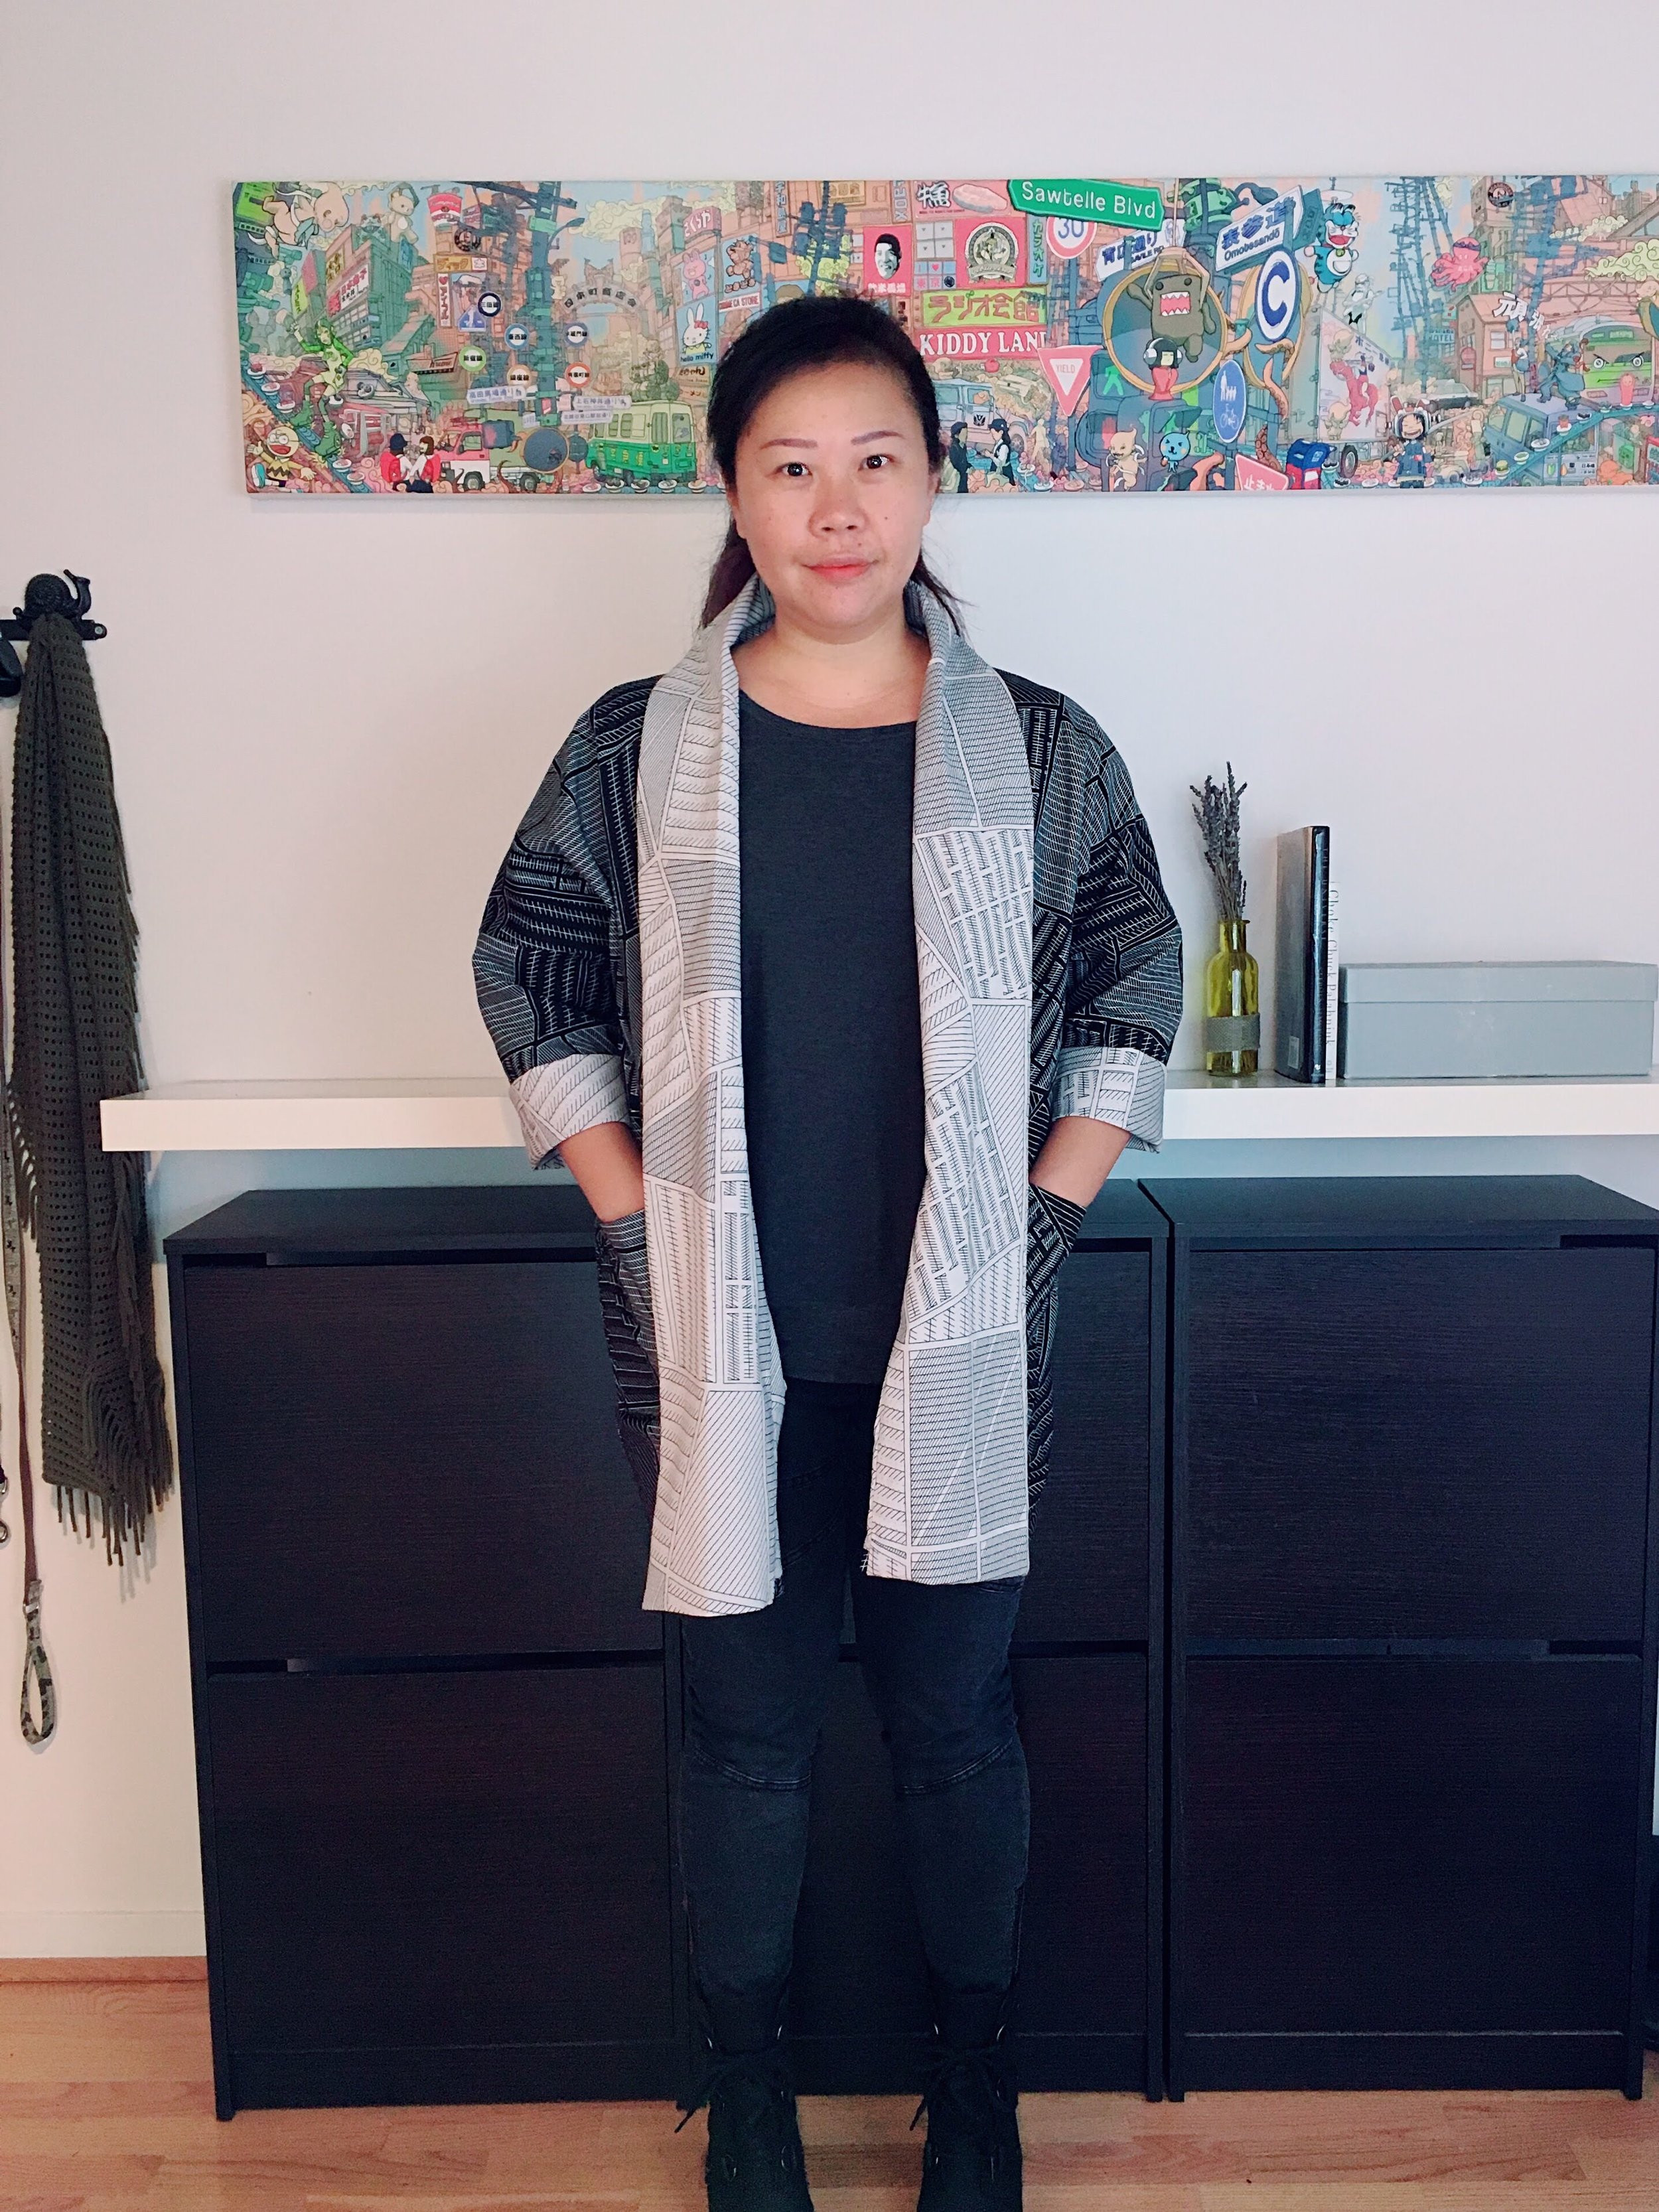
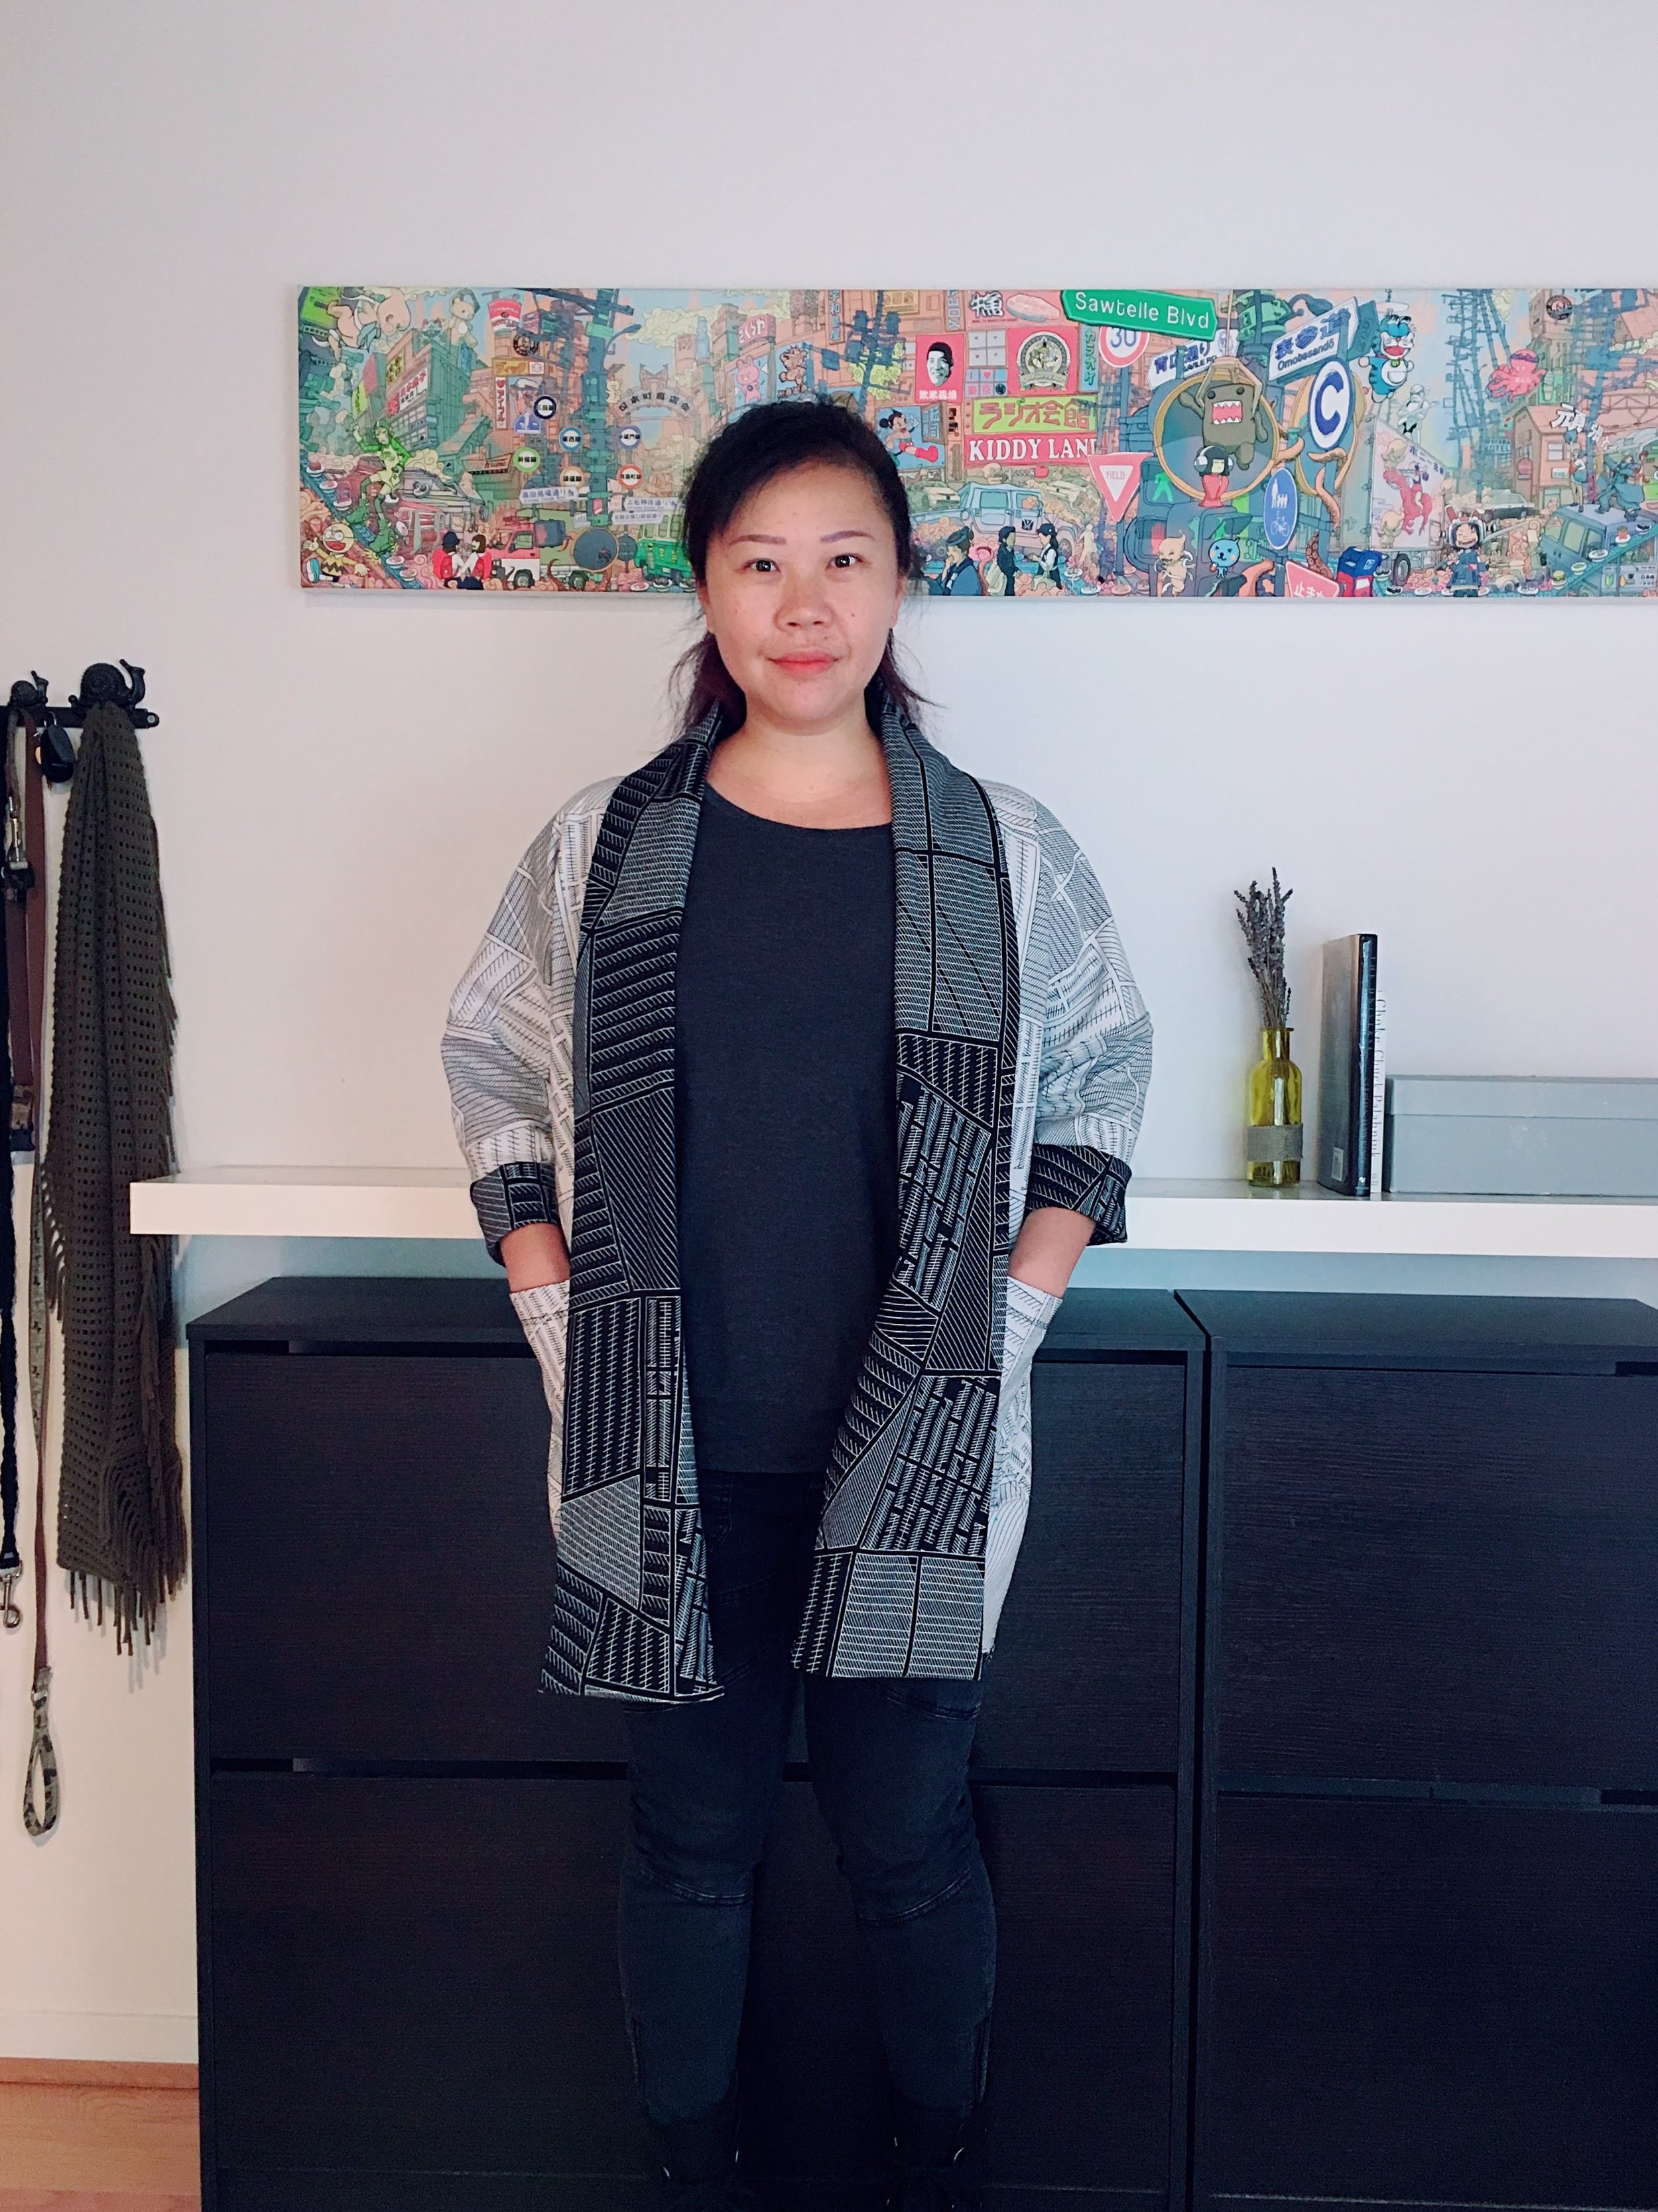
SECOND “REAL” JACKET
After how successful the toile version went, I was so eager to start with the nice fabric. I cut up the Medium size but this time I did the Long Length version. Followed instructions as above, with the additional exceptions:
Changed seam allowance to 5/8 inches to give myself even more room to turn the fabric for the flat fell seams.
I didn’t change the fabric amount cut, still used the cut lines as original, the jacket is so large that it doesn’t make much difference when I increased the seam allowance.
Added inside and outside pockets. This time, I tried really hard and sewed really slowly to make sure that both pockets were placed perfectly in place while I sew them with a single stitch. It was actually not that hard to accomplish! One trick I use is when sewing, I poke the fabric to touch the underneath piece and make sure I can feel the fabric edge through the top layer. I don’t have a video of this, but if you think this is useful, let me know - I can take a video and post it. Another thing a sewists fellow showed me (thank you @roxystitches!) is to use a stitch foot. It definitely helps keeping lines straight.
The final result, to my surprise, was not as I expected. The fabric was a little too stiff for my liking. It’s still cool, but I would have fell in love with it if it was “drapier”. And I think because of the stiffer fabric, I could have gone one size down. And the long length…not sure how I feel about that… See below and judge for yourself. I still wear it, but it’s not as cozy as my toile, which I find myself wearing more often. But this version definitely looks cooler!

I like this pattern so much that I have purchased more fabric to make more of these jackets! I have an off-white medium weight cotton that I plan on making as the outer layer with a bird rayon in black and white for the lining. So, stay tuned for updates!

